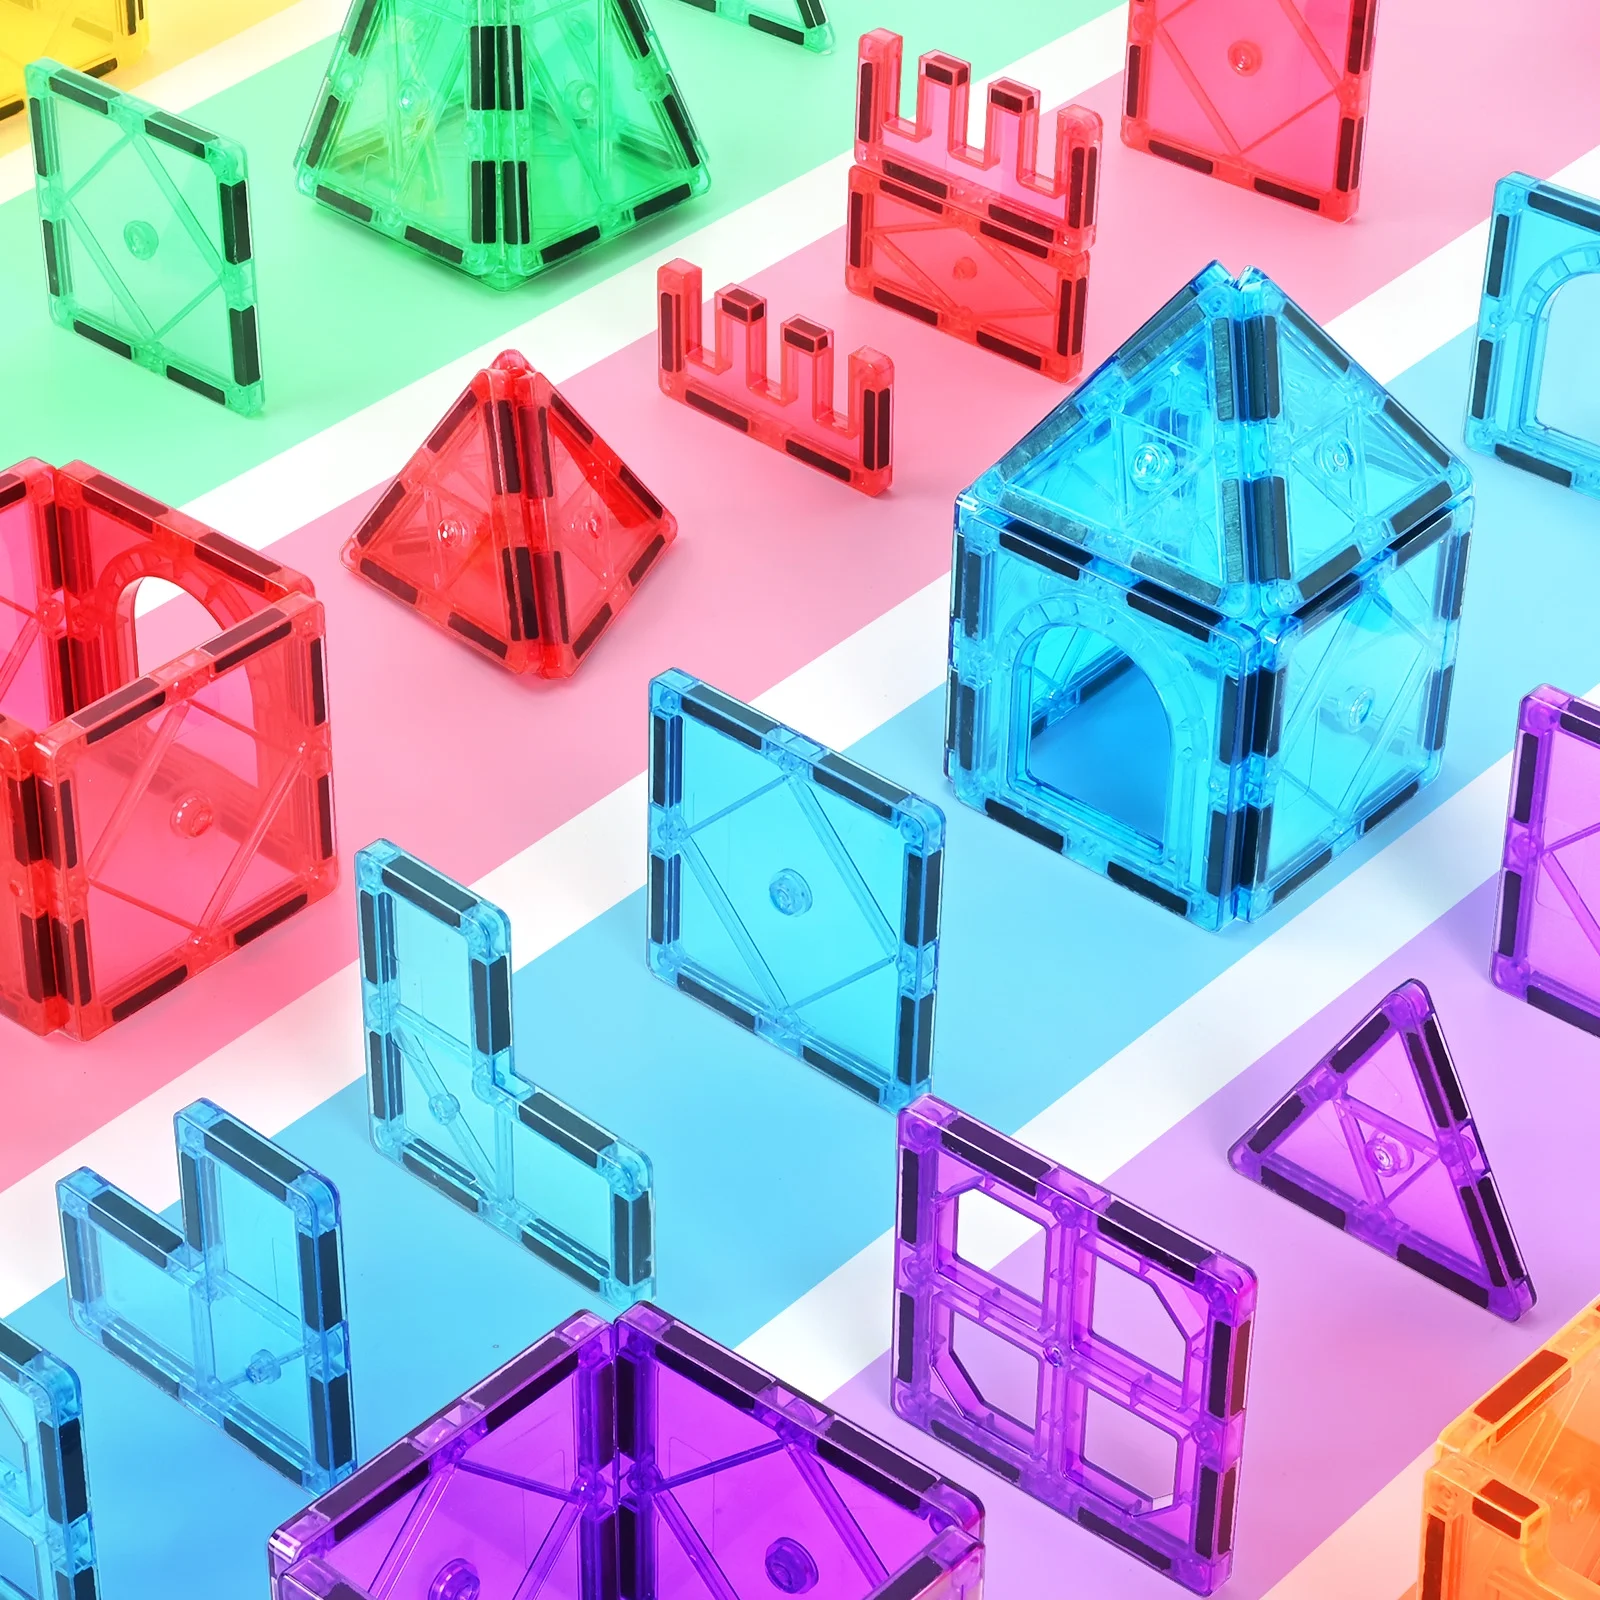
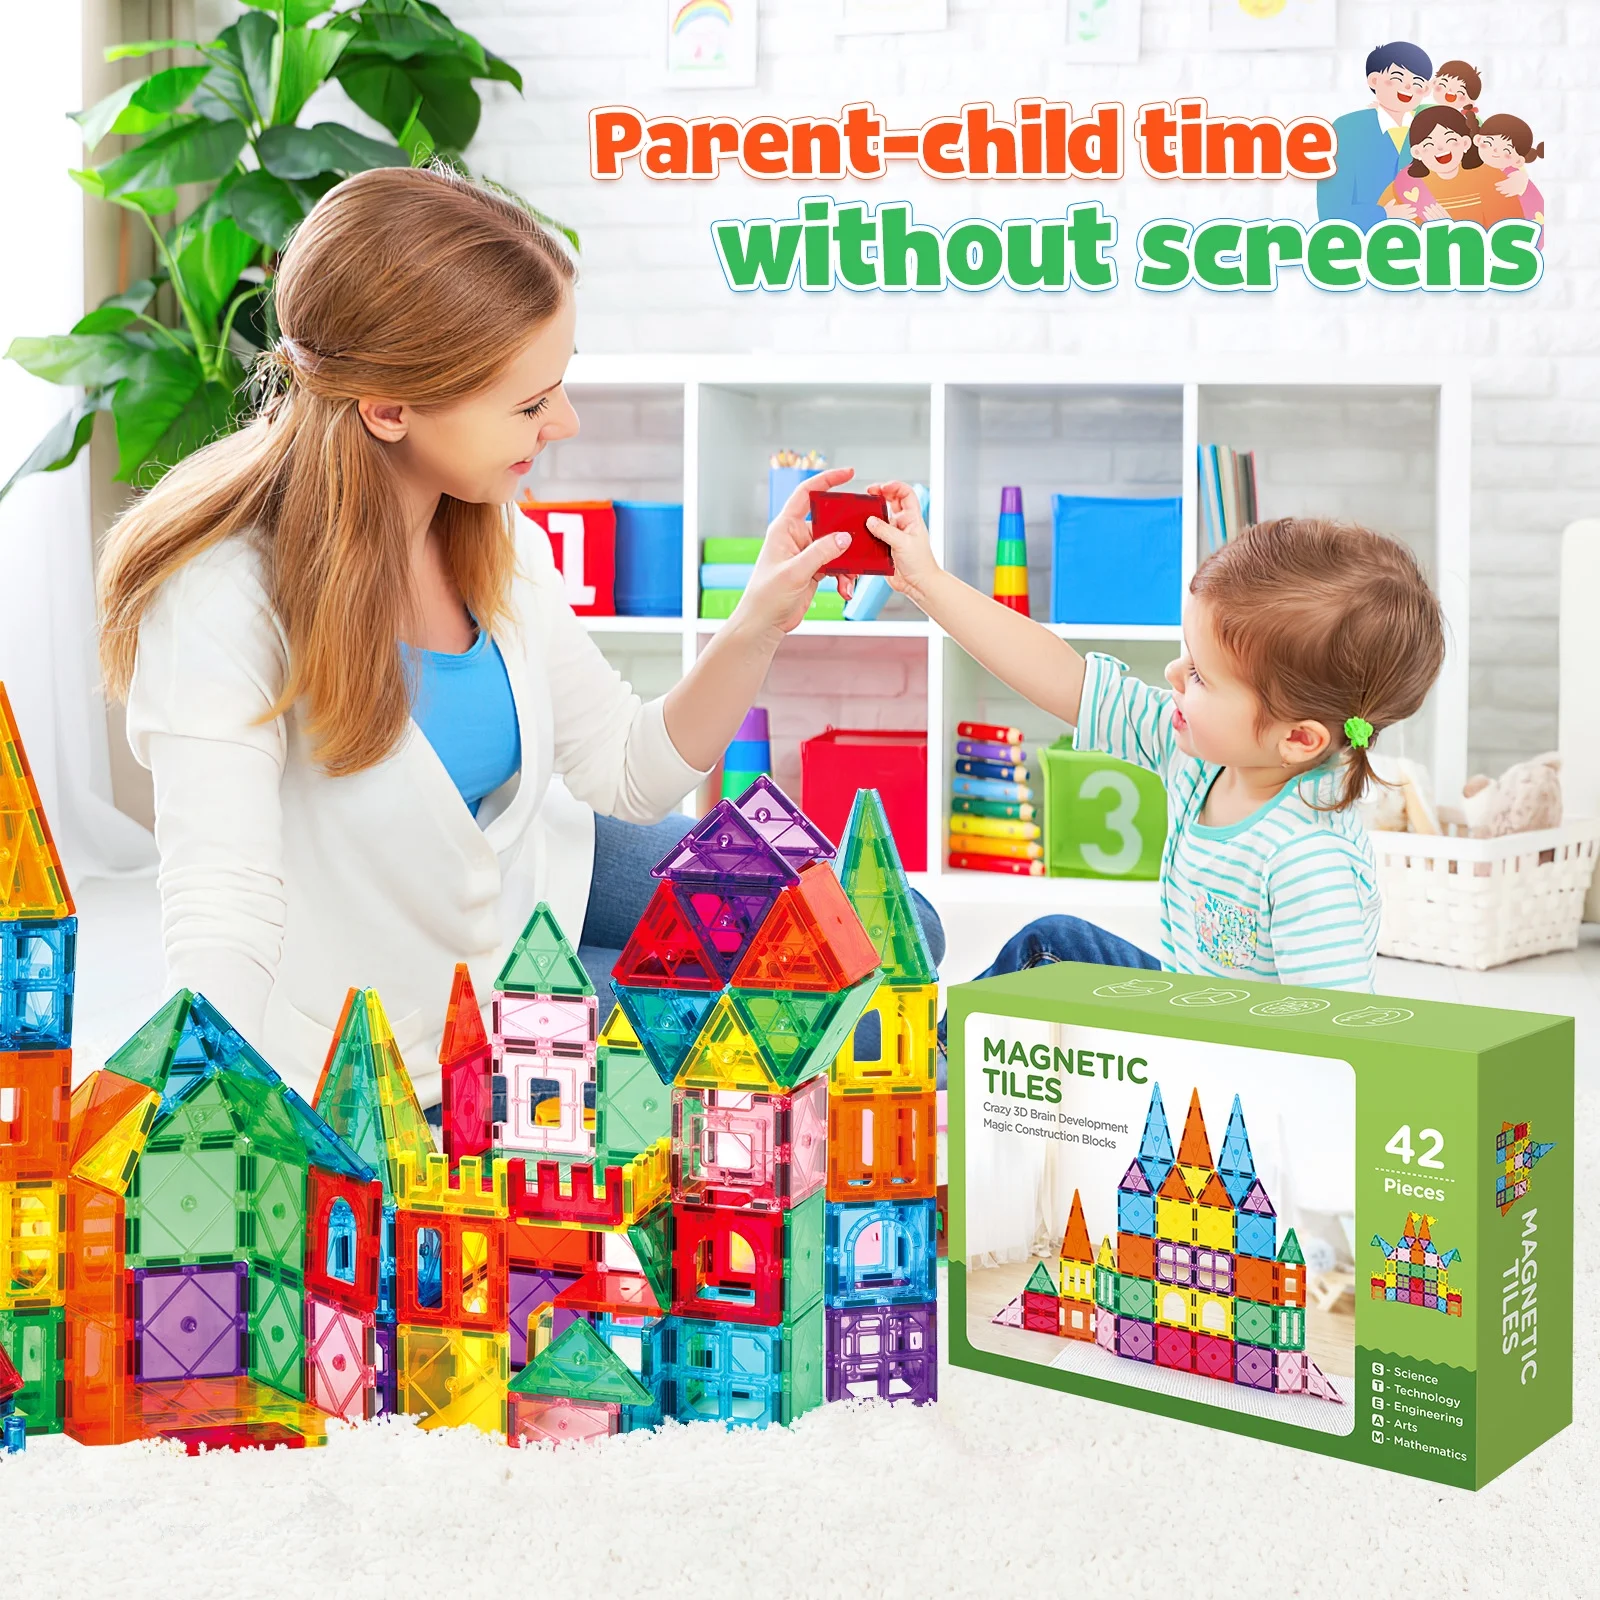
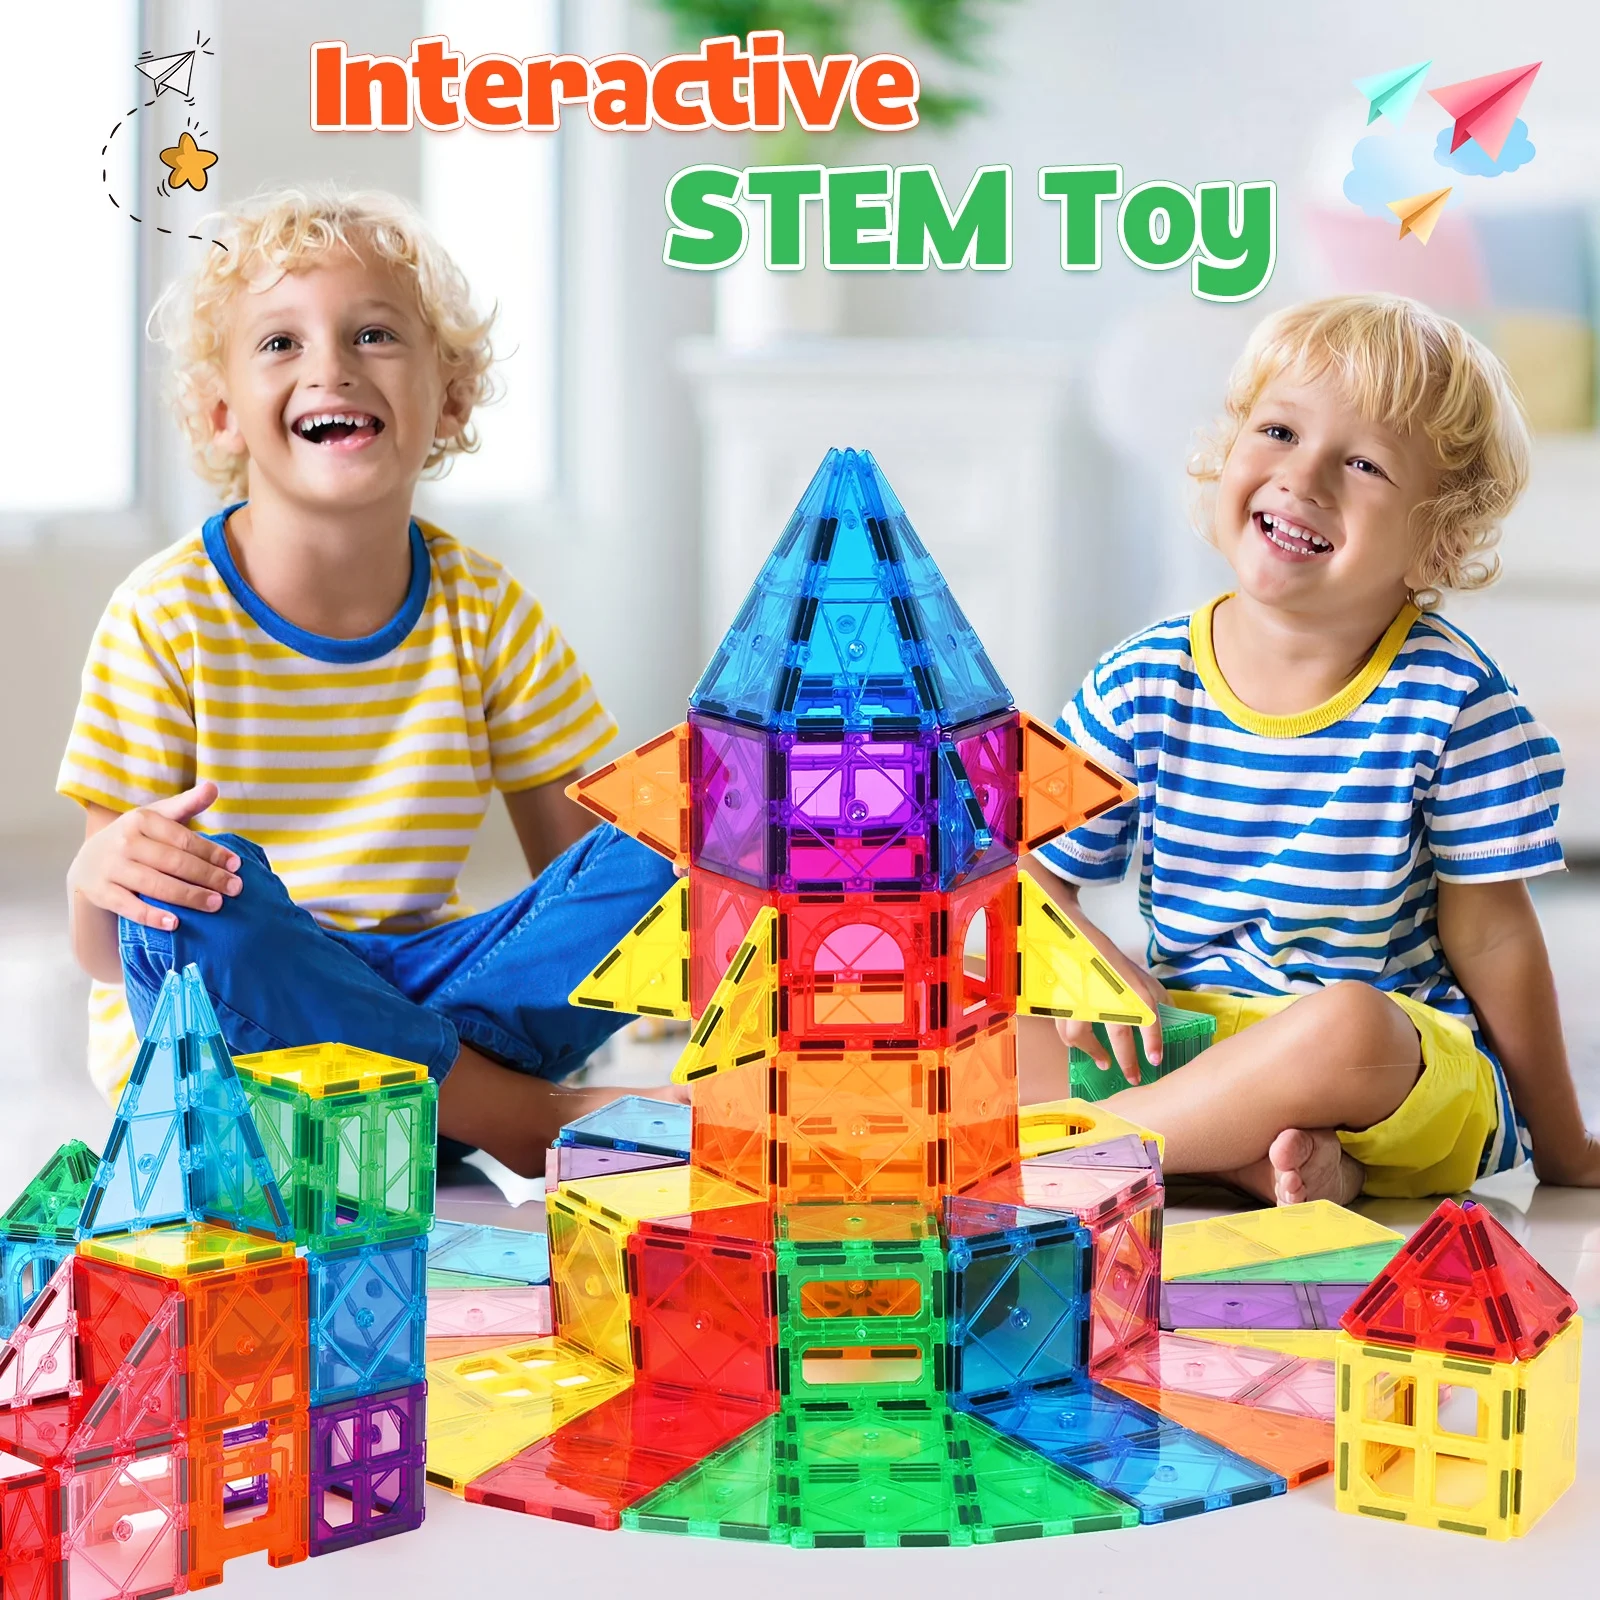
There’s a reason you see magnetic tiles everywhere from playrooms to preschool classrooms: they’re the rare toy that scales with attention span, ability, and imagination. Magnetic Tiles for Kids invite little hands to snap, slide, and rotate pieces into towers, roads, rockets, cafés, zoos—anything today’s story requires. The click is satisfying, the cleanup is simple, and the learning sneaks in through joy: color sorting, counting, cause-and-effect, problem-solving, and early engineering habits that build real-world confidence.
In this article, we’ll show you how to get the most from Magnetic Tiles for Kids—from first builds and sensory-safe play setups to 25+ prompts that make tiles feel fresh all year. You’ll learn age-smart ways to introduce challenges, combine tiles with things you already own, support independent play, and turn “oops” moments into STEM wins. We’ll finish with storage hacks, classroom ideas, and a parent-friendly FAQ so you’re set from unboxing to everyday rotation.
Why Magnetic Tiles for Kids work (beyond the “click”)
- Open-ended by design: No single “right” build means kids lead the story. Today’s rocket becomes tomorrow’s vet clinic without new parts.
- Built-in feedback: Magnets give instant cause-and-effect. Tilt too far? It collapses. Try a wider base? It stands. That’s early engineering in action.
- Fine-motor + focus: Aligning edges, rotating squares into diamonds, and bridging gaps trains wrists and attention gently, session after session.
- From solo to social: Tiles are a natural bridge to cooperative play. Kids plan, negotiate, assign roles, and proudly redesign.
Getting started (first 10 minutes that set you up to win)
- Create a “yes” zone: A wipe-able mat or low coffee table becomes the build base. Fewer distractions, more success.
- Start flat, go vertical: Begin with 2D patterns—roads, mosaics, letter shapes—then “lift” into 3D by folding and stacking.
- Name the moves: “Click, rotate, bridge, brace, base.” Vocabulary turns trial-and-error into shareable strategies.
- Use a build mantra: “Wide base, tall tower.” Say it, show it, celebrate it.
- End with a ritual: A final “museum tour” of creations followed by a 60-second timed cleanup race.
25+ play prompts that keep Magnetic Tiles for Kids fresh
- City grid: Roads (rectangles), parking lots (squares), tunnels (arches with a plank). Add toy cars for traffic rules.
- Animal homes: Triangles for tents, cubes for dens, windows for aquariums. Introduce habitats and seasons.
- Shops & cafés: Counter + window + sign. Use play food or paper menus kids illustrate themselves.
- Marble runs (supervised): Stack walls and ramps; test angles. Measure “fast vs. slow” with a simple countdown.
- Light lab: Build translucent towers near a sunny window or over a flashlight; watch colors blend.
- Letters & names: Outline initials, then “box” them into 3D monograms.
- Symmetry station: You build half; your child mirrors the rest.
- Bridge challenge: Span two stools. How many animals can cross before it sags?
- Pattern party: ABAB color repeats, then AABB, then ABC. Clap the pattern while placing pieces.
- Photo architect: Show a photo of a lighthouse or castle. Recreate essentials; ignore nitpicky details.
- Story dice: Roll a plush die with icons (car, moon, fish). Build the scene that matches the roll.
- Shape swap: “Can we make a circle from squares?” (Yes—approximate with a ring.)
- Domes & igloos: Triangles + patience. Celebrate partial success; this one’s tricky and great for growth mindsets.
- Pop-up book: Build a flat scene, then fold vertical—instant stage set for figurines.
- Kitchen scientist: Balance tiles on overturned bowls to make pedestals; compare heights with measuring spoons.
- Number park: Build pens with tile counts that match animal herds (3 cows, 5 ducks).
- Color café: “Today we serve only blue and green!” Kids curate the palette, not just the shapes.
- Museum curator: One small build each day for a week; label with sticky notes (title, artist’s name).
- Weather wall: Sunshine rays, rain streaks, cloud shapes—talk temperatures and seasons.
- Ramp Olympics: Gentle slope, steeper slope, bump in the middle—what rolls farthest?
- Rescue mission: Build a tower, hide a figurine, construct stairs or an elevator to “save” them.
- Festival floats: Decorate shoe boxes with tiles for a parade. March to music.
- Shadow theater: Backlight a tiled skyline and tell a bedtime story.
- Treasure map: 2D island with “X.” Navigate a toy ship around reefs and bridges.
- Math maker: “How many squares equal one rectangle?” Swap, count, and compare.
STEM without the lecture (how learning hides in play)
- Spatial reasoning: Rotating a square 45° to become a diamond reorients how kids see space—and later helps in geometry and reading maps.
- Structural logic: Bases, braces, and symmetric loads are the “physics of play.” Collapses become hypotheses: What if the base is wider? What if we add a cross-brace?
- Early data skills: Kids test, observe, adjust. You can name it (“experiment”), but the important part is that they owned the process.
- Language growth: Describing a plan (“Let’s make a bridge with two supports”) builds narrative sequencing and collaboration cues.
Social & emotional wins you’ll actually notice
- Turn-taking that feels fair: Assign roles—architect (plans), builder (places), inspector (stability check). Rotate every five minutes.
- Proud mistakes: Normalize “oops.” Photograph a collapse, circle the weak point with a marker, rebuild stronger.
- Perseverance in tiny doses: Set a micro-goal: “One layer taller than yesterday.” Achievement drives the next session.
Combine Magnetic Tiles for Kids with what you already own
- Cars & trains: Tiles = stations, garages, crossings.
- Dolls & figurines: Tiles = apartments, clinics, pet hotels.
- Play-dough: Press dough against tiles to make stamps and textures.
- Cardboard & recyclables: Roofs from cereal boxes, tunnels from paper rolls.
- Nature finds: Sticks, leaves, and pebbles for parks and campfires.
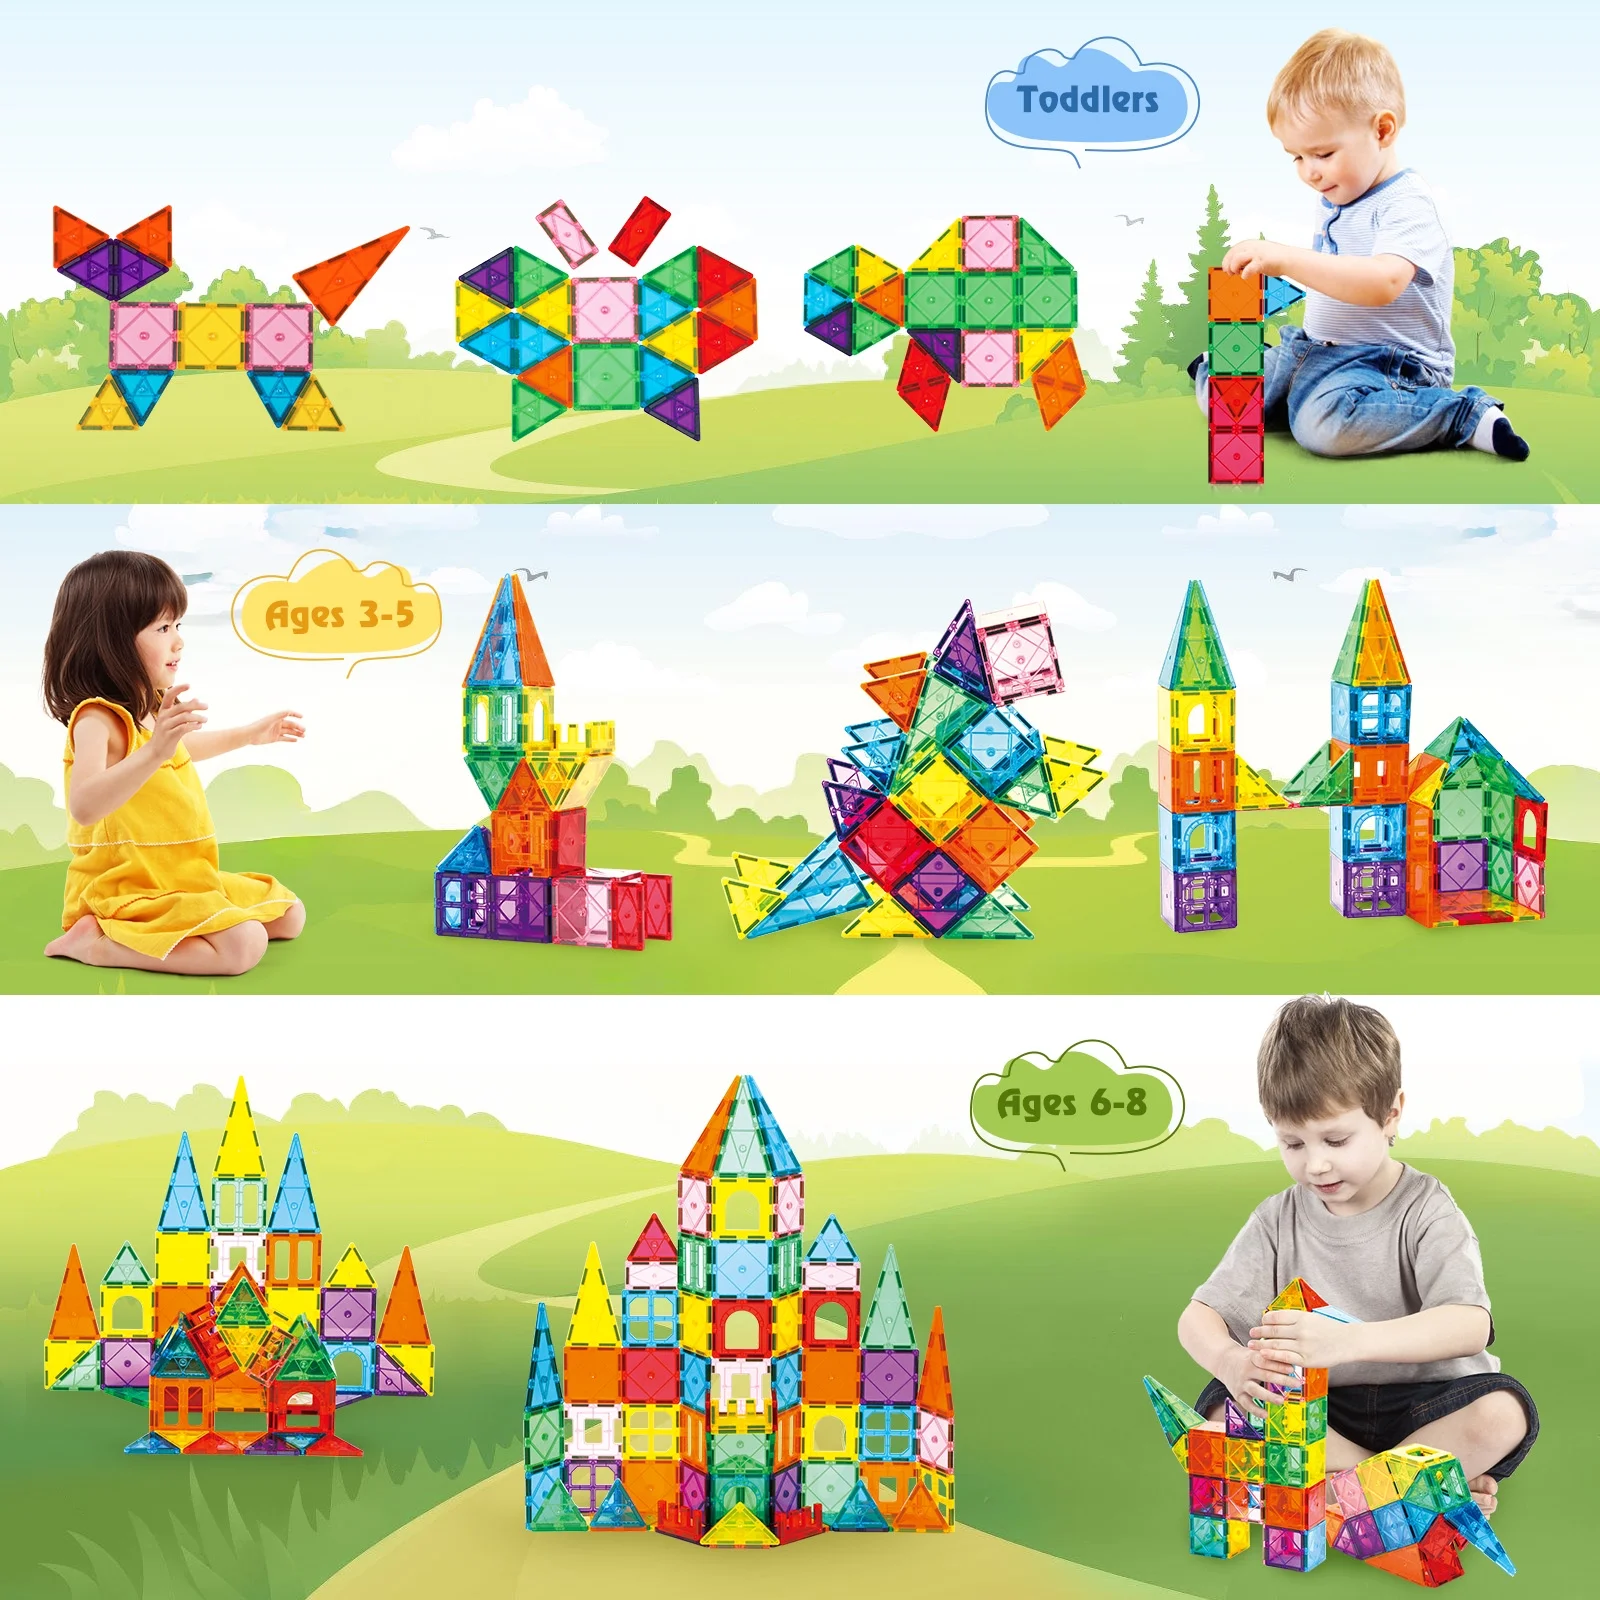
Age-smart tips (guidance, not hard rules)
- Toddlers (with close supervision): Large flat builds, color sorting, simple towers. Keep pieces big; narrate actions.
- Preschool: Bridges, homes, marble ramps (with adult oversight), pattern play. Invite storytelling.
- Early elementary: Blueprints on paper, symmetrical challenges, timed towers, themed worlds tied to books or field trips.
- Mixed ages: Give parallel goals—little ones place “windows,” older kids handle span supports.
Safety, care & storage (peace of mind for everyday play)
- Visual sweep: After play, do a floor scan; magnets should be inside intact tiles only.
- Gentle clean: Damp cloth or baby wipe; avoid soaking.
- Storage that invites play: Clear bins by shape/color. One shallow tray for “today’s build” so projects can pause and resume.
- Travel kit: A zipper pouch with 15–20 versatile shapes turns waiting rooms into quiet build time.
- House rules: “We click, not throw.” Repeat it cheerfully but consistently.
Classroom corner (teachers & homeschool wins)
- Centers rotation: Monday = bridges, Tuesday = patterns, Wednesday = letters, etc. Predictable novelty keeps engagement high.
- Cross-curricular: Build the “setting” from a story, map a community, model fractions by tiling halves/quarters.
- Assessment, gently: Snap a photo of each build; kids dictate a sentence about their plan. You’ll see growth over weeks—no worksheets required.
Troubleshooting: when the tower keeps falling (and spirits too)
- Too tall, too soon: Add a base layer two tiles wider than you think you need.
- Wobbly joints: Use triangles as corner braces; they’re stability superheroes.
- Short attention: Introduce a mission (“We need a bridge long enough for the blue bus”). Purpose fuels focus.
- Sibling stalemate: Split by roles, not pieces. Collaboration beats competition.
Conclusion
Great toys don’t just entertain; they empower. Magnetic Tiles for Kids meet children at their level—today and six months from now—inviting curiosity, focus, and collaboration without a single scripted instruction. With a simple setup, a few high-yield prompts, and supportive language (“What’s your plan?”, “How could we make it stronger?”), tiles become a daily practice in creativity and calm. When play is this open-ended, kids surprise you—and themselves—every time they click two pieces together.
FAQ
- What age is best to start with magnetic tiles?
With close supervision, toddlers can explore flat builds and color sorting. Preschoolers are ready for bridges, homes, and simple ramps; early elementary kids enjoy blueprints, symmetry, and themed worlds. - How do I reduce constant collapses (and frustration)?
Repeat the mantra “wide base, tall tower,” then add triangles as corner braces. Celebrate small wins and rebuilds—engineering is iterative. - Are magnetic tiles only for building towers?
Not at all. Try roads, shops, letter shapes, maps, marble runs (supervised), shadow theaters, and treasure islands. The value is in open-ended reuse. - Can tiles help with early math and reading?
Yes—patterns, counting pens for animals, measuring ramp distances, and building letters or story settings tie play to literacy and numeracy naturally. - How do I encourage siblings to cooperate?
Assign rotating roles (architect, builder, inspector) and shared missions (“a bridge strong enough for the red truck”). Roles reduce piece-grabbing. - What’s the best way to store and display tiles?
Clear bins by shape or color plus a shallow “in-progress” tray. Visibility invites play; a tray preserves builds between sessions. - How can I refresh interest without buying add-ons?
Use household props (cardboard, play-dough, toy cars), change the base (window light, flashlight lab), or run weekly mini-challenges. - Are they classroom-friendly?
Absolutely—perfect for centers, cross-curricular projects, and quick assessments via build photos with student dictation. - How do I clean tiles after messy play?
Wipe with a damp cloth and dry thoroughly. Avoid submerging to protect internal components. - What language helps kids stick with hard builds?
Try “What’s your plan?”, “What did you notice?”, and “How could we make it stronger?” Process questions grow persistence—and pride—in the final build.