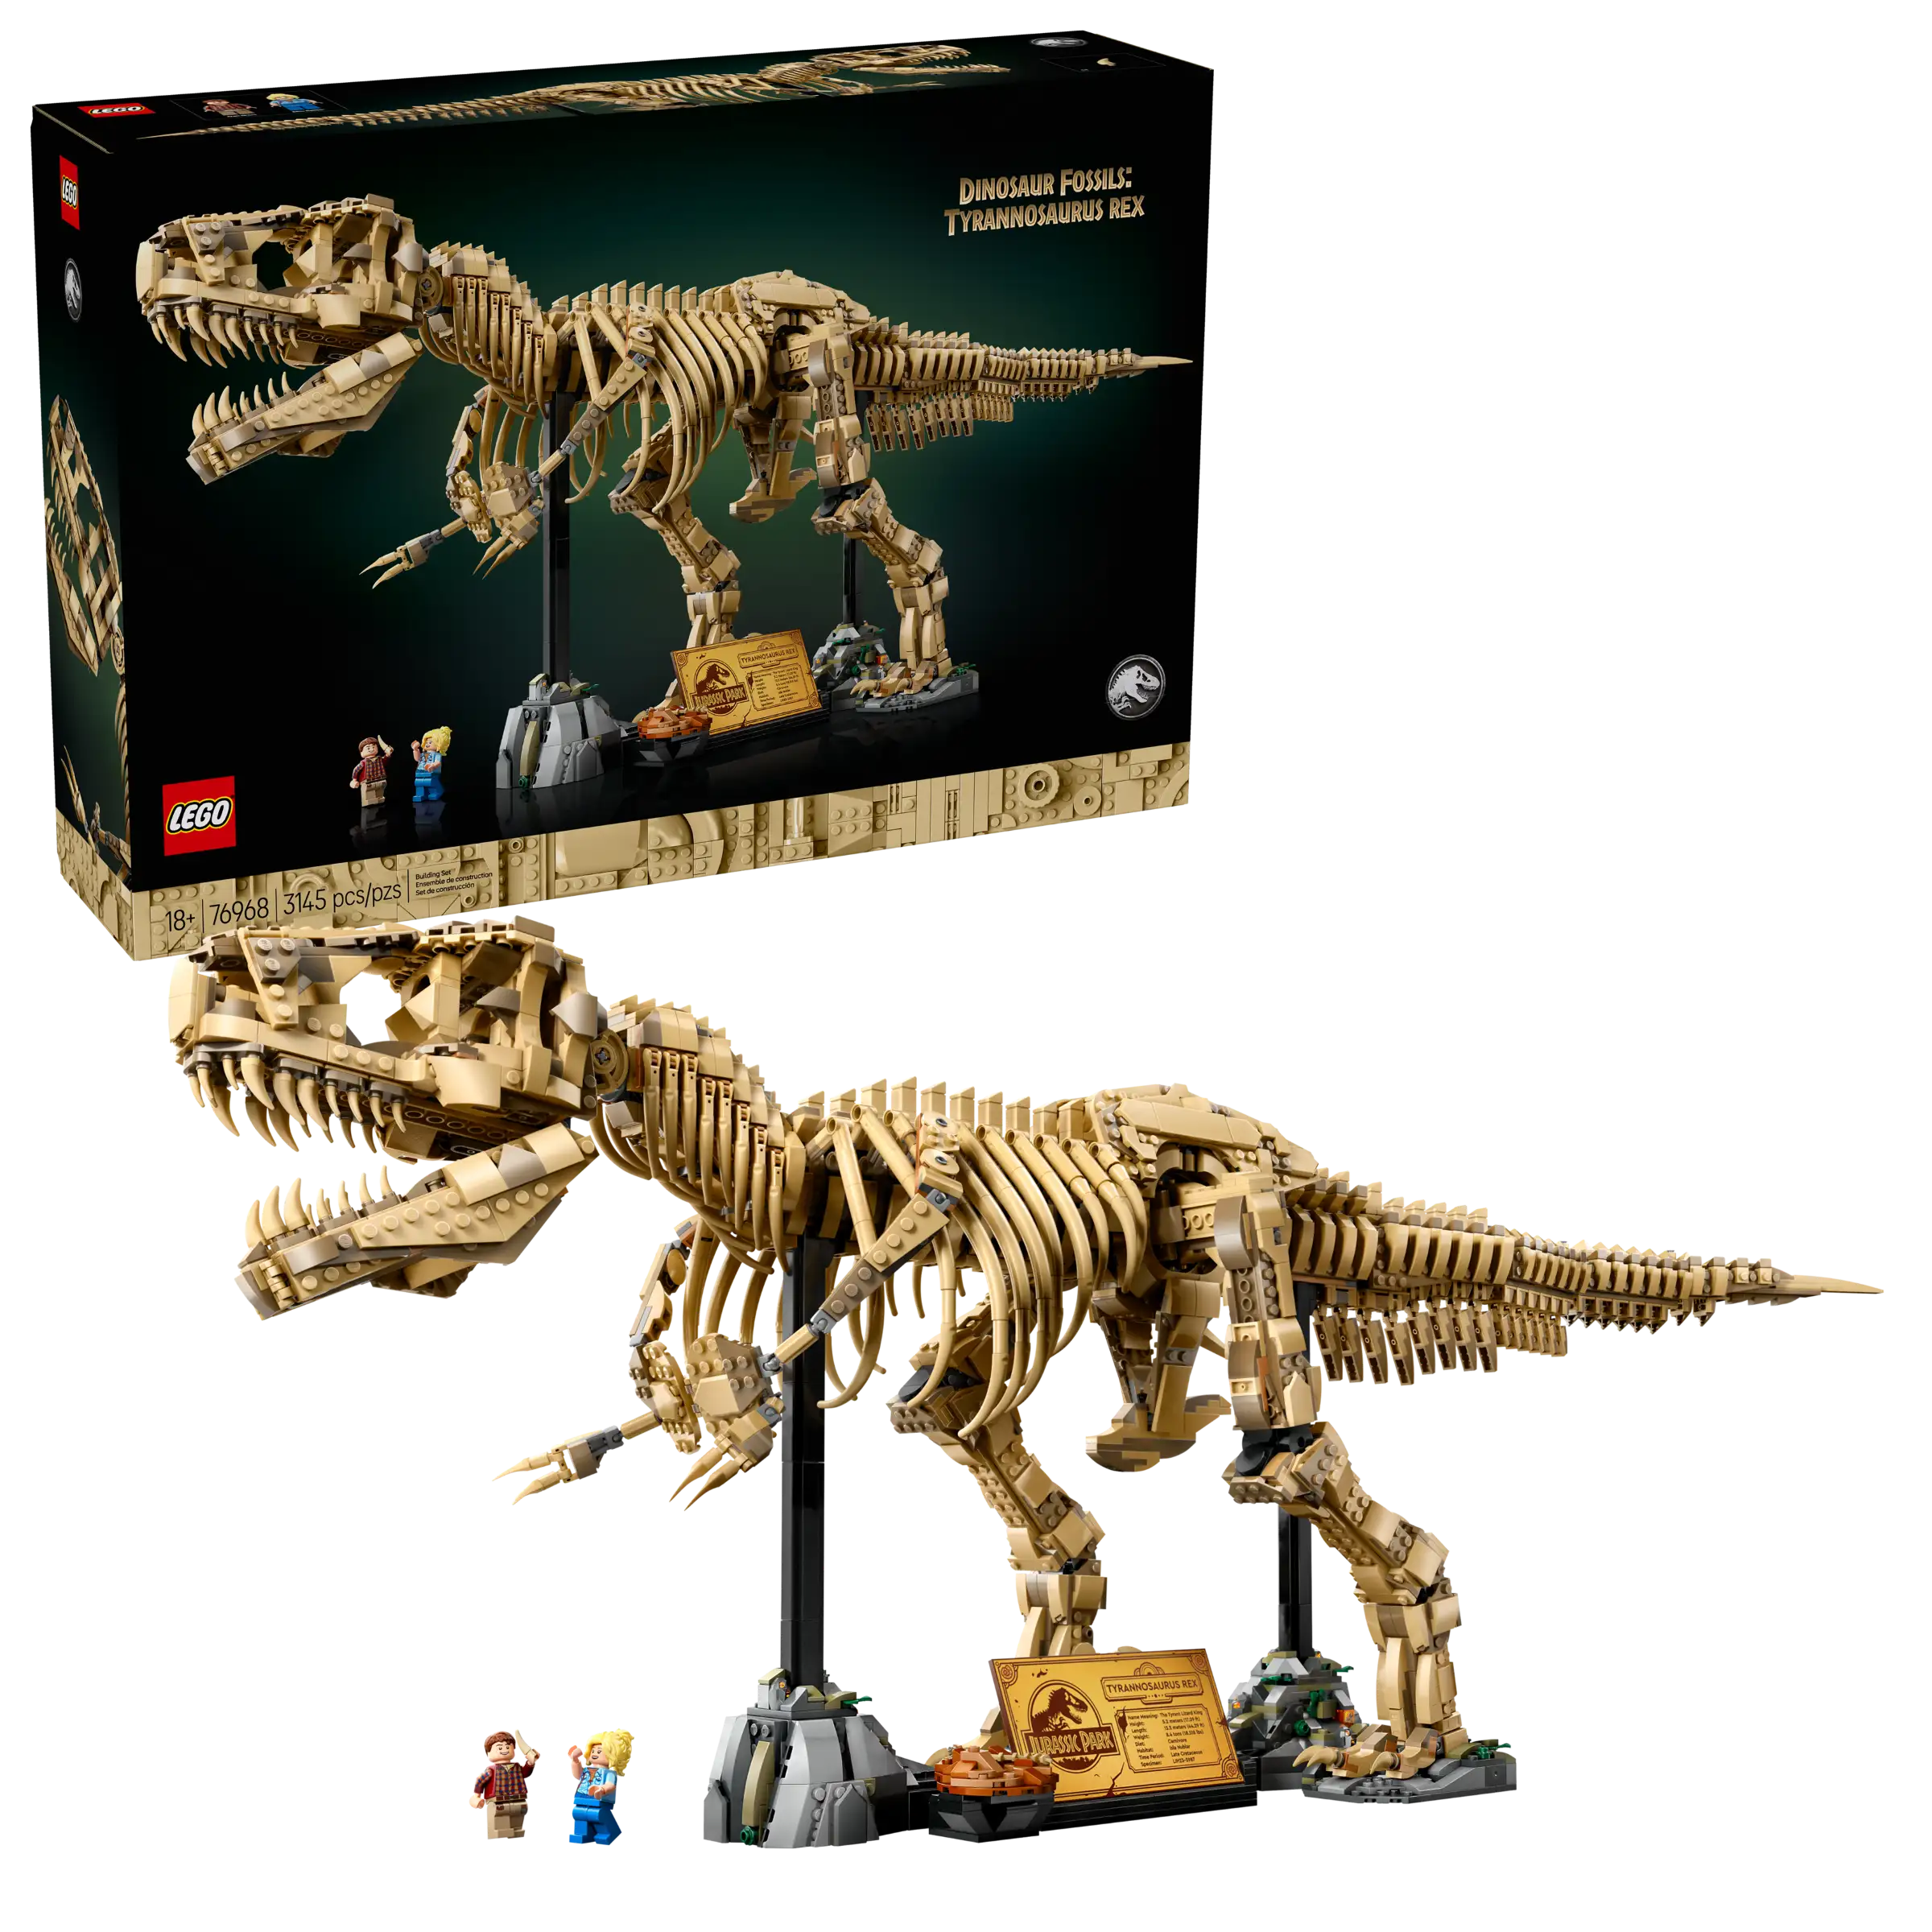

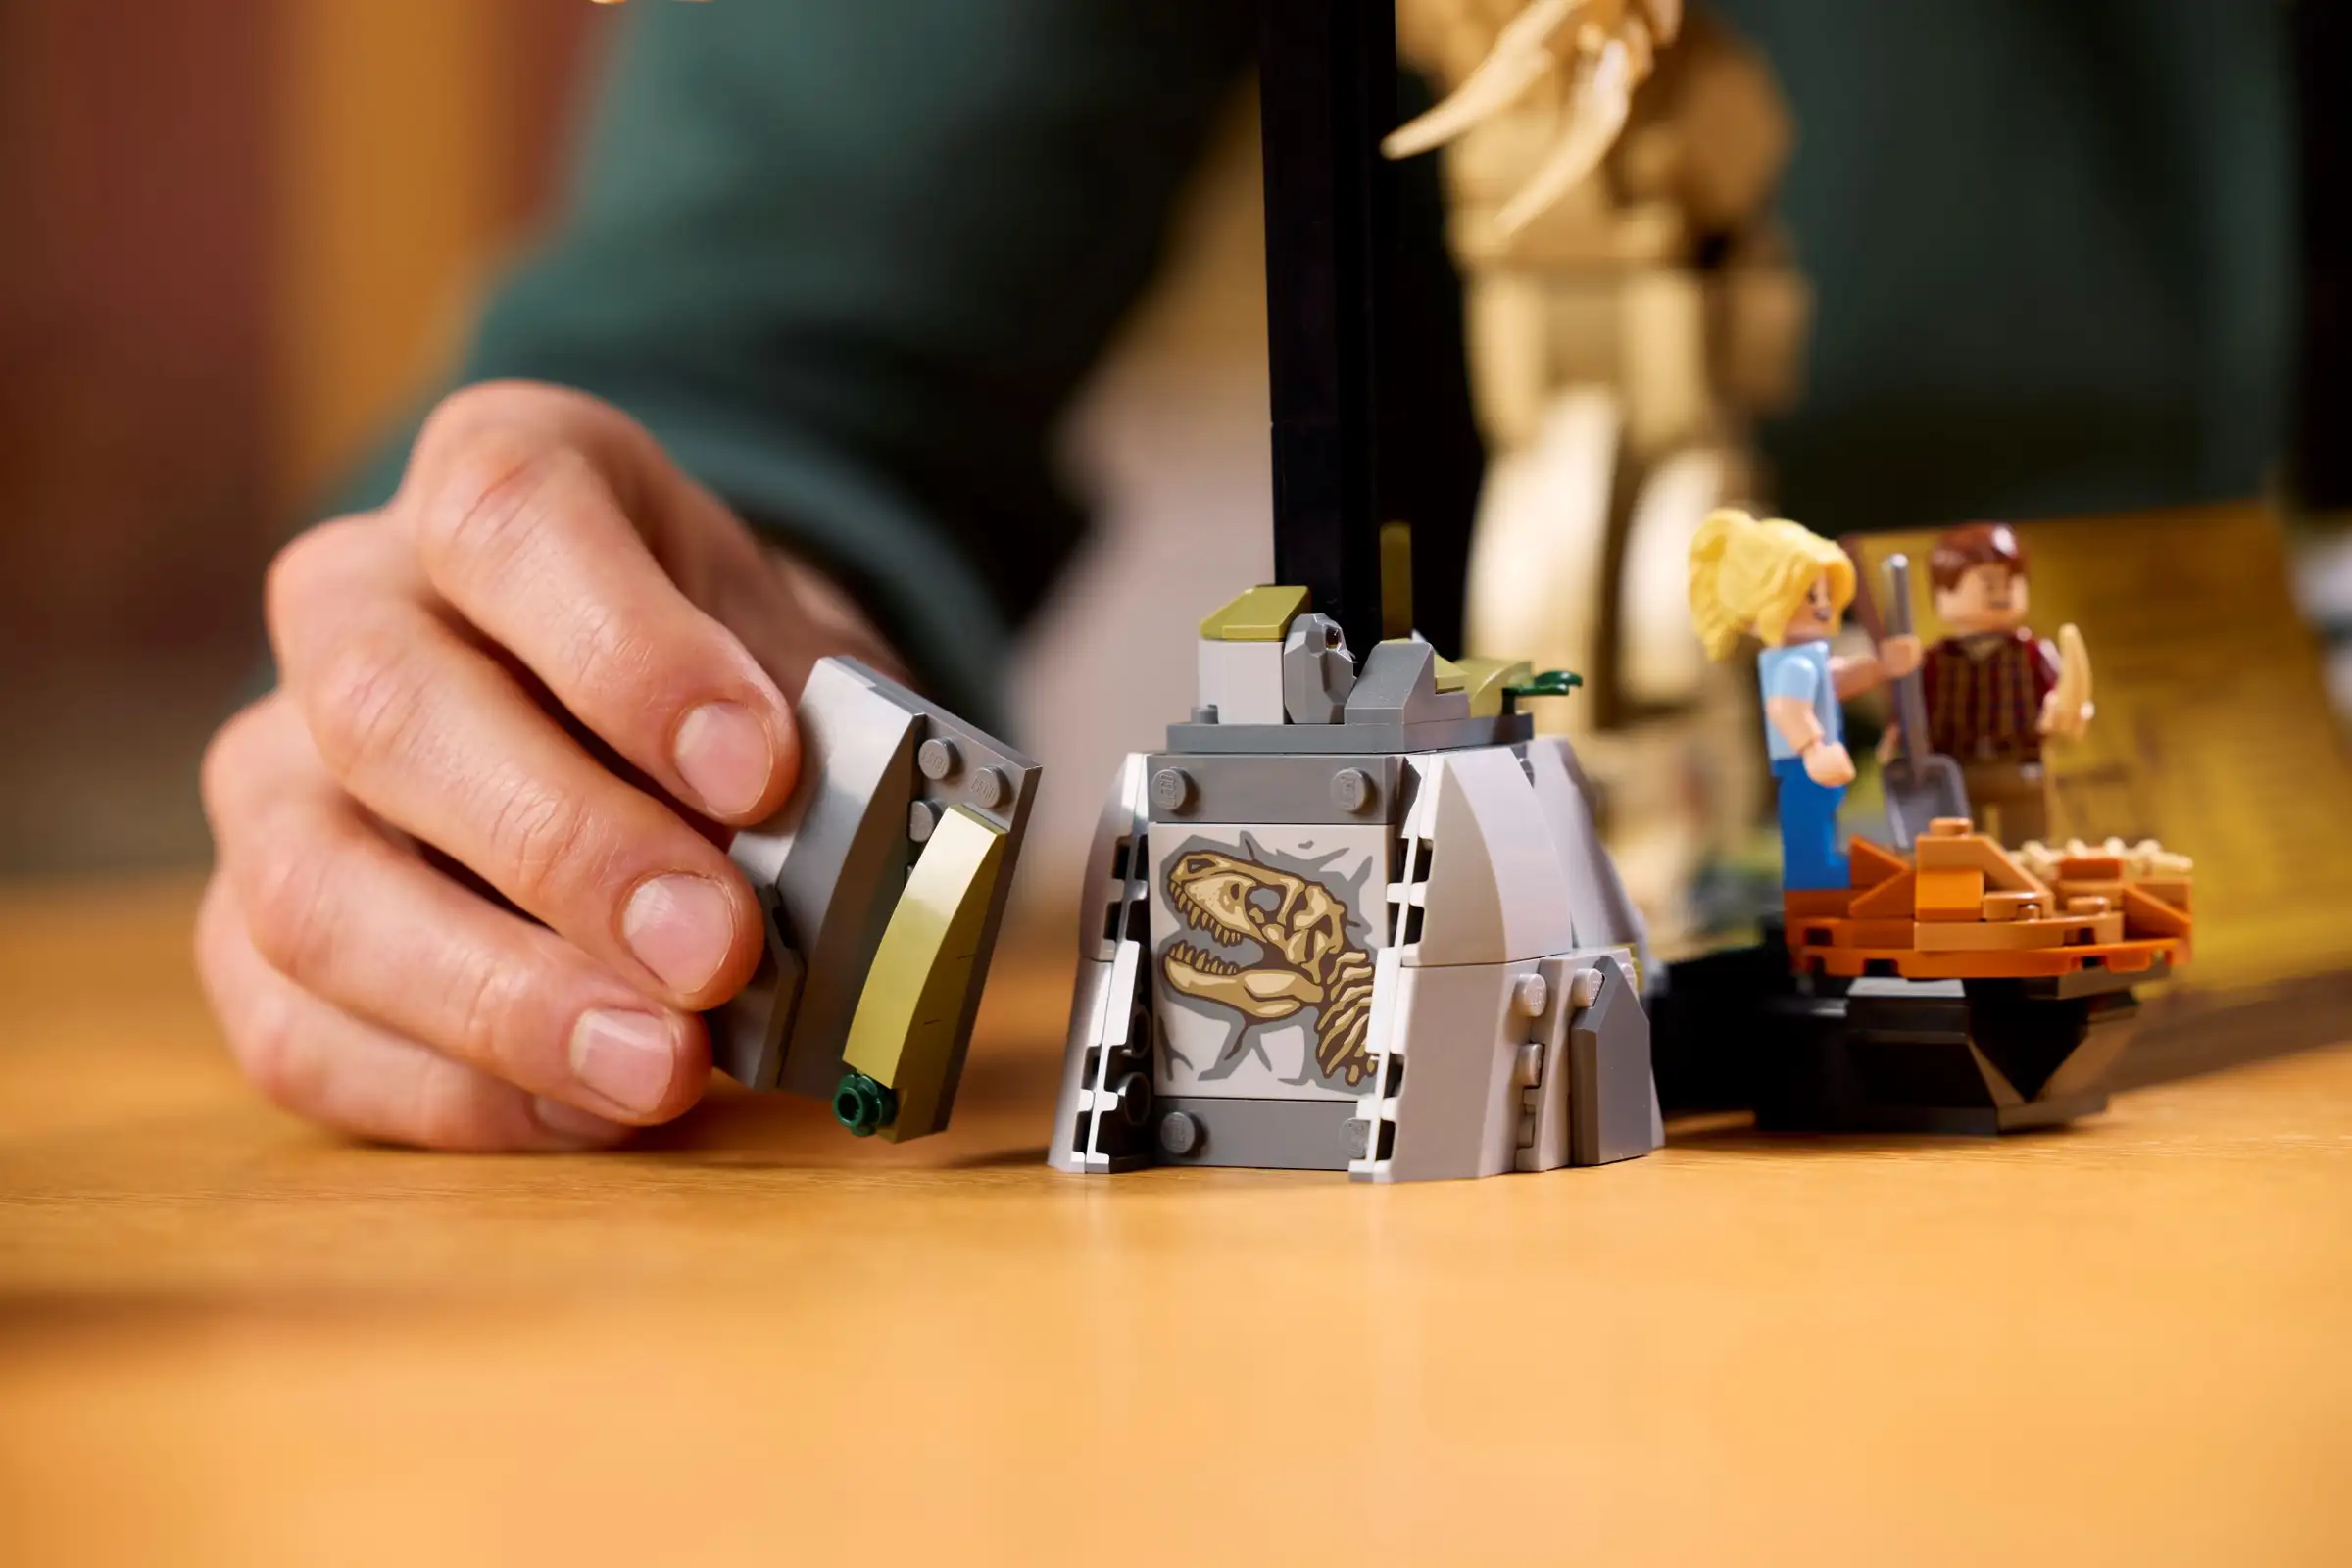
Kids don’t just want to learn about dinosaurs—they want to meet them. A fossil build turns abstract timelines into something you can hold, rotate, and pose. The LEGO Dinosaur Fossils: Tyrannosaurus rex set brings that magic to the table with clever joints, natural postures, and museum-style details that make the finished model feel like a real exhibit.
In this article, you’ll learn how to prep the build so it goes smoothly, turn the model into a science lesson without it feeling like homework, display it safely, and keep it looking pristine. We’ll also give you project ideas that scale from rainy-day fun to classroom-worthy investigations.
Shop LEGO Dinosaur Fossils: T. rex
Why a Fossil Build Is Different (and Better) Than a Standard Creature
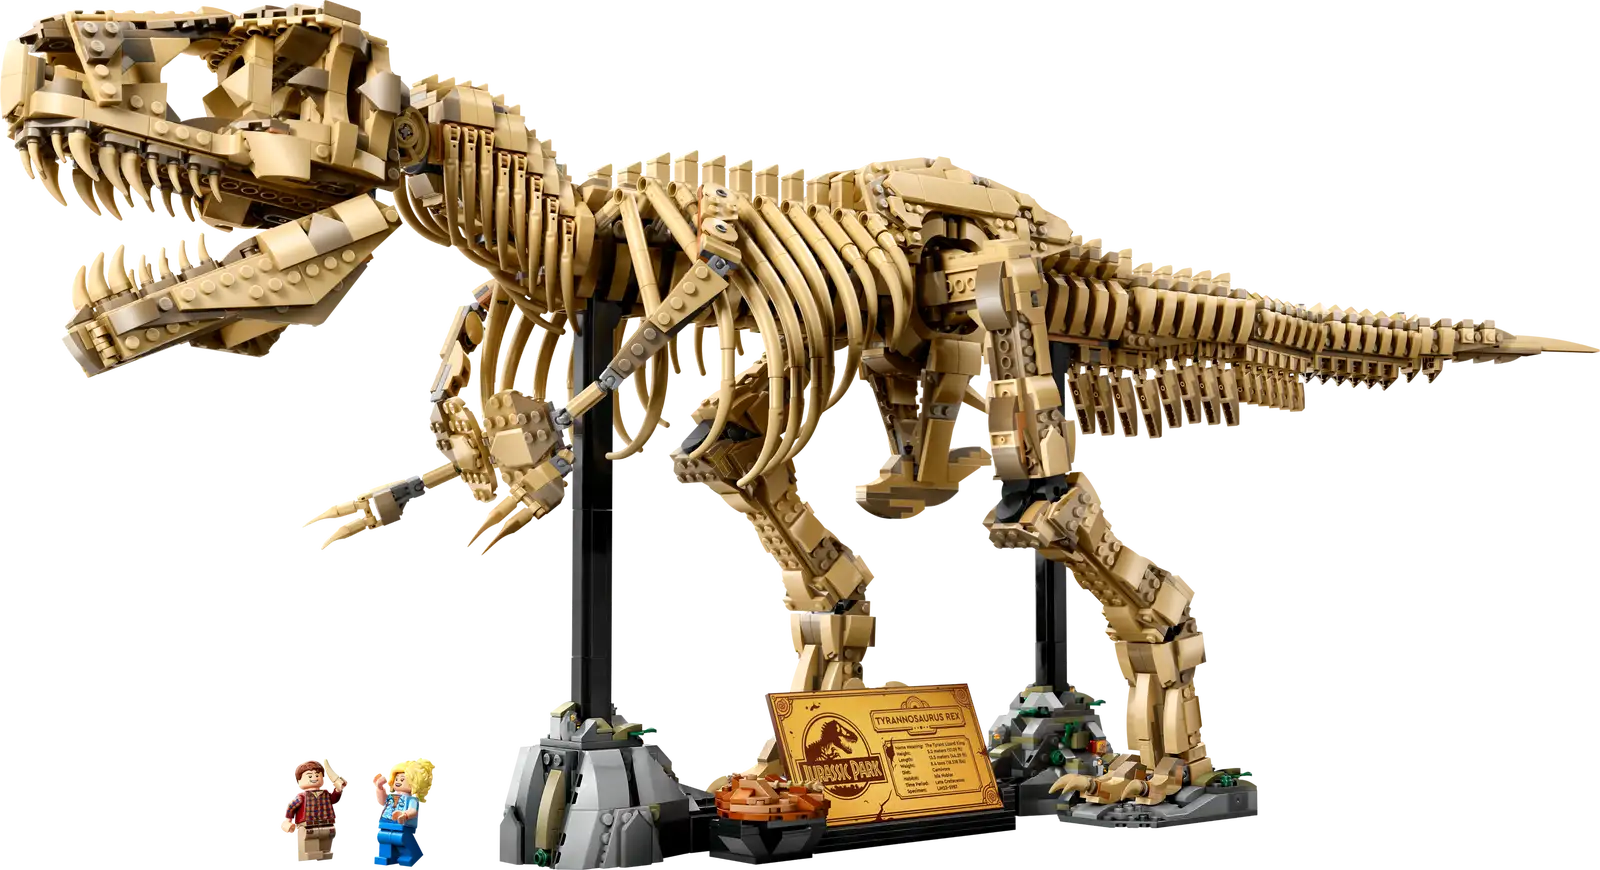
Creature sets are about color, character, and motion. A fossil build adds structure. Kids see how hips support weight, why tails counterbalance, and how skulls hinge and protect. The LEGO Dinosaur Fossils: Tyrannosaurus rex channels that engineering into a hands-on puzzle with satisfying “aha!” moments. Each sub-assembly—skull, rib cage, pelvis, tail—teaches shape literacy and spatial reasoning. When you snap the spine into alignment and the posture suddenly reads “T. rex,” you’re witnessing design and paleontology shake hands.
Set Up for Success: Prep, Workspace, and Build Flow
Before you open the first bag, clear a build area large enough to keep sub-assemblies separate. A shallow tray or baking sheet per bag helps corrall small parts. Keep the instruction booklet or app open and brighten the screen so shadows don’t hide details. Younger builders benefit from a two-phase plan: morning for the torso and hips (high-impact progress) and afternoon for skull and tail (precision work). If you’re co-building, delegate roles: one builder for sorting and feeding parts, the other for assembly. Switch halfway so both get the satisfaction of clicks.
A quick lesson in “stud direction” goes a long way. Point out when the set rotates an assembly by 90° to achieve natural curves—kids start predicting these moves, which makes later steps faster. When you reach a delicate joint (jaw hinge, tail segments), remind everyone to press near the connection instead of the far edge to avoid torque.
Make It a Science Story: Paleontology Without the Lecture
A fossil model is an invitation to narrative. Start with place and time: Late Cretaceous, roughly 68–66 million years ago. Then anchor scale using the build: a skull that dwarfs a human minifigure, teeth designed for grip and pull, not slice. The LEGO Dinosaur Fossils: Tyrannosaurus rex becomes your prop to discuss bipedal stance, counterbalance tails, binocular vision, and why massive jaws don’t mean clumsy movement.
Keep it playful. Ask, “What job does this bone do?” and let kids test hypotheses by posing the model. Try a lean-forward sprint, then a balanced roar pose, then a museum-still stance. You’ve just introduced biomechanics and stability without a single worksheet.
Building Confidence: Troubleshooting Common Snags
If a sub-assembly feels fragile, it’s usually a sign that one plate isn’t fully seated or a clip sits one stud off. Gently disassemble 1–2 steps and re-seat parts with two thumbs close to the joint. Tail sections misbehaving? Flatten them on the table and press along the spine from base to tip. Skull symmetry off by a hair? Compare left and right in good light—one mirrored piece may be flipped. Encourage kids to diagnose like engineers: observe, test, correct. That turn toward problem-solving is as valuable as the final roar pose.
Hands-On Learning Ideas (That Feel Like Play)
- Museum Label Challenge: After the build, write a 3–4 sentence “exhibit card” together. Include species name, time period, and one wow fact. Place it beside the display stand.
- Footprint Forensics: Press the model’s foot lightly into kinetic sand or clay to create “fossil footprints.” Measure stride length and talk about speed.
- Balance Lab: Move the tail and head to extreme positions and see how the model’s center of mass shifts. Add coins to a small cup taped under the tail to simulate muscle and fat—what position feels stable?
- Bone-to-Build Translation: Print a simple T. rex skeleton outline. Label 4–5 major bones on the paper, then point to the matching sections on the LEGO build.
- Time Travel Shelf: Arrange the T. rex with a globe, a rock sample, and a dino book. You’ve created a mini “science corner” that invites return visits.
Shop LEGO Dinosaur Fossils: T. rex
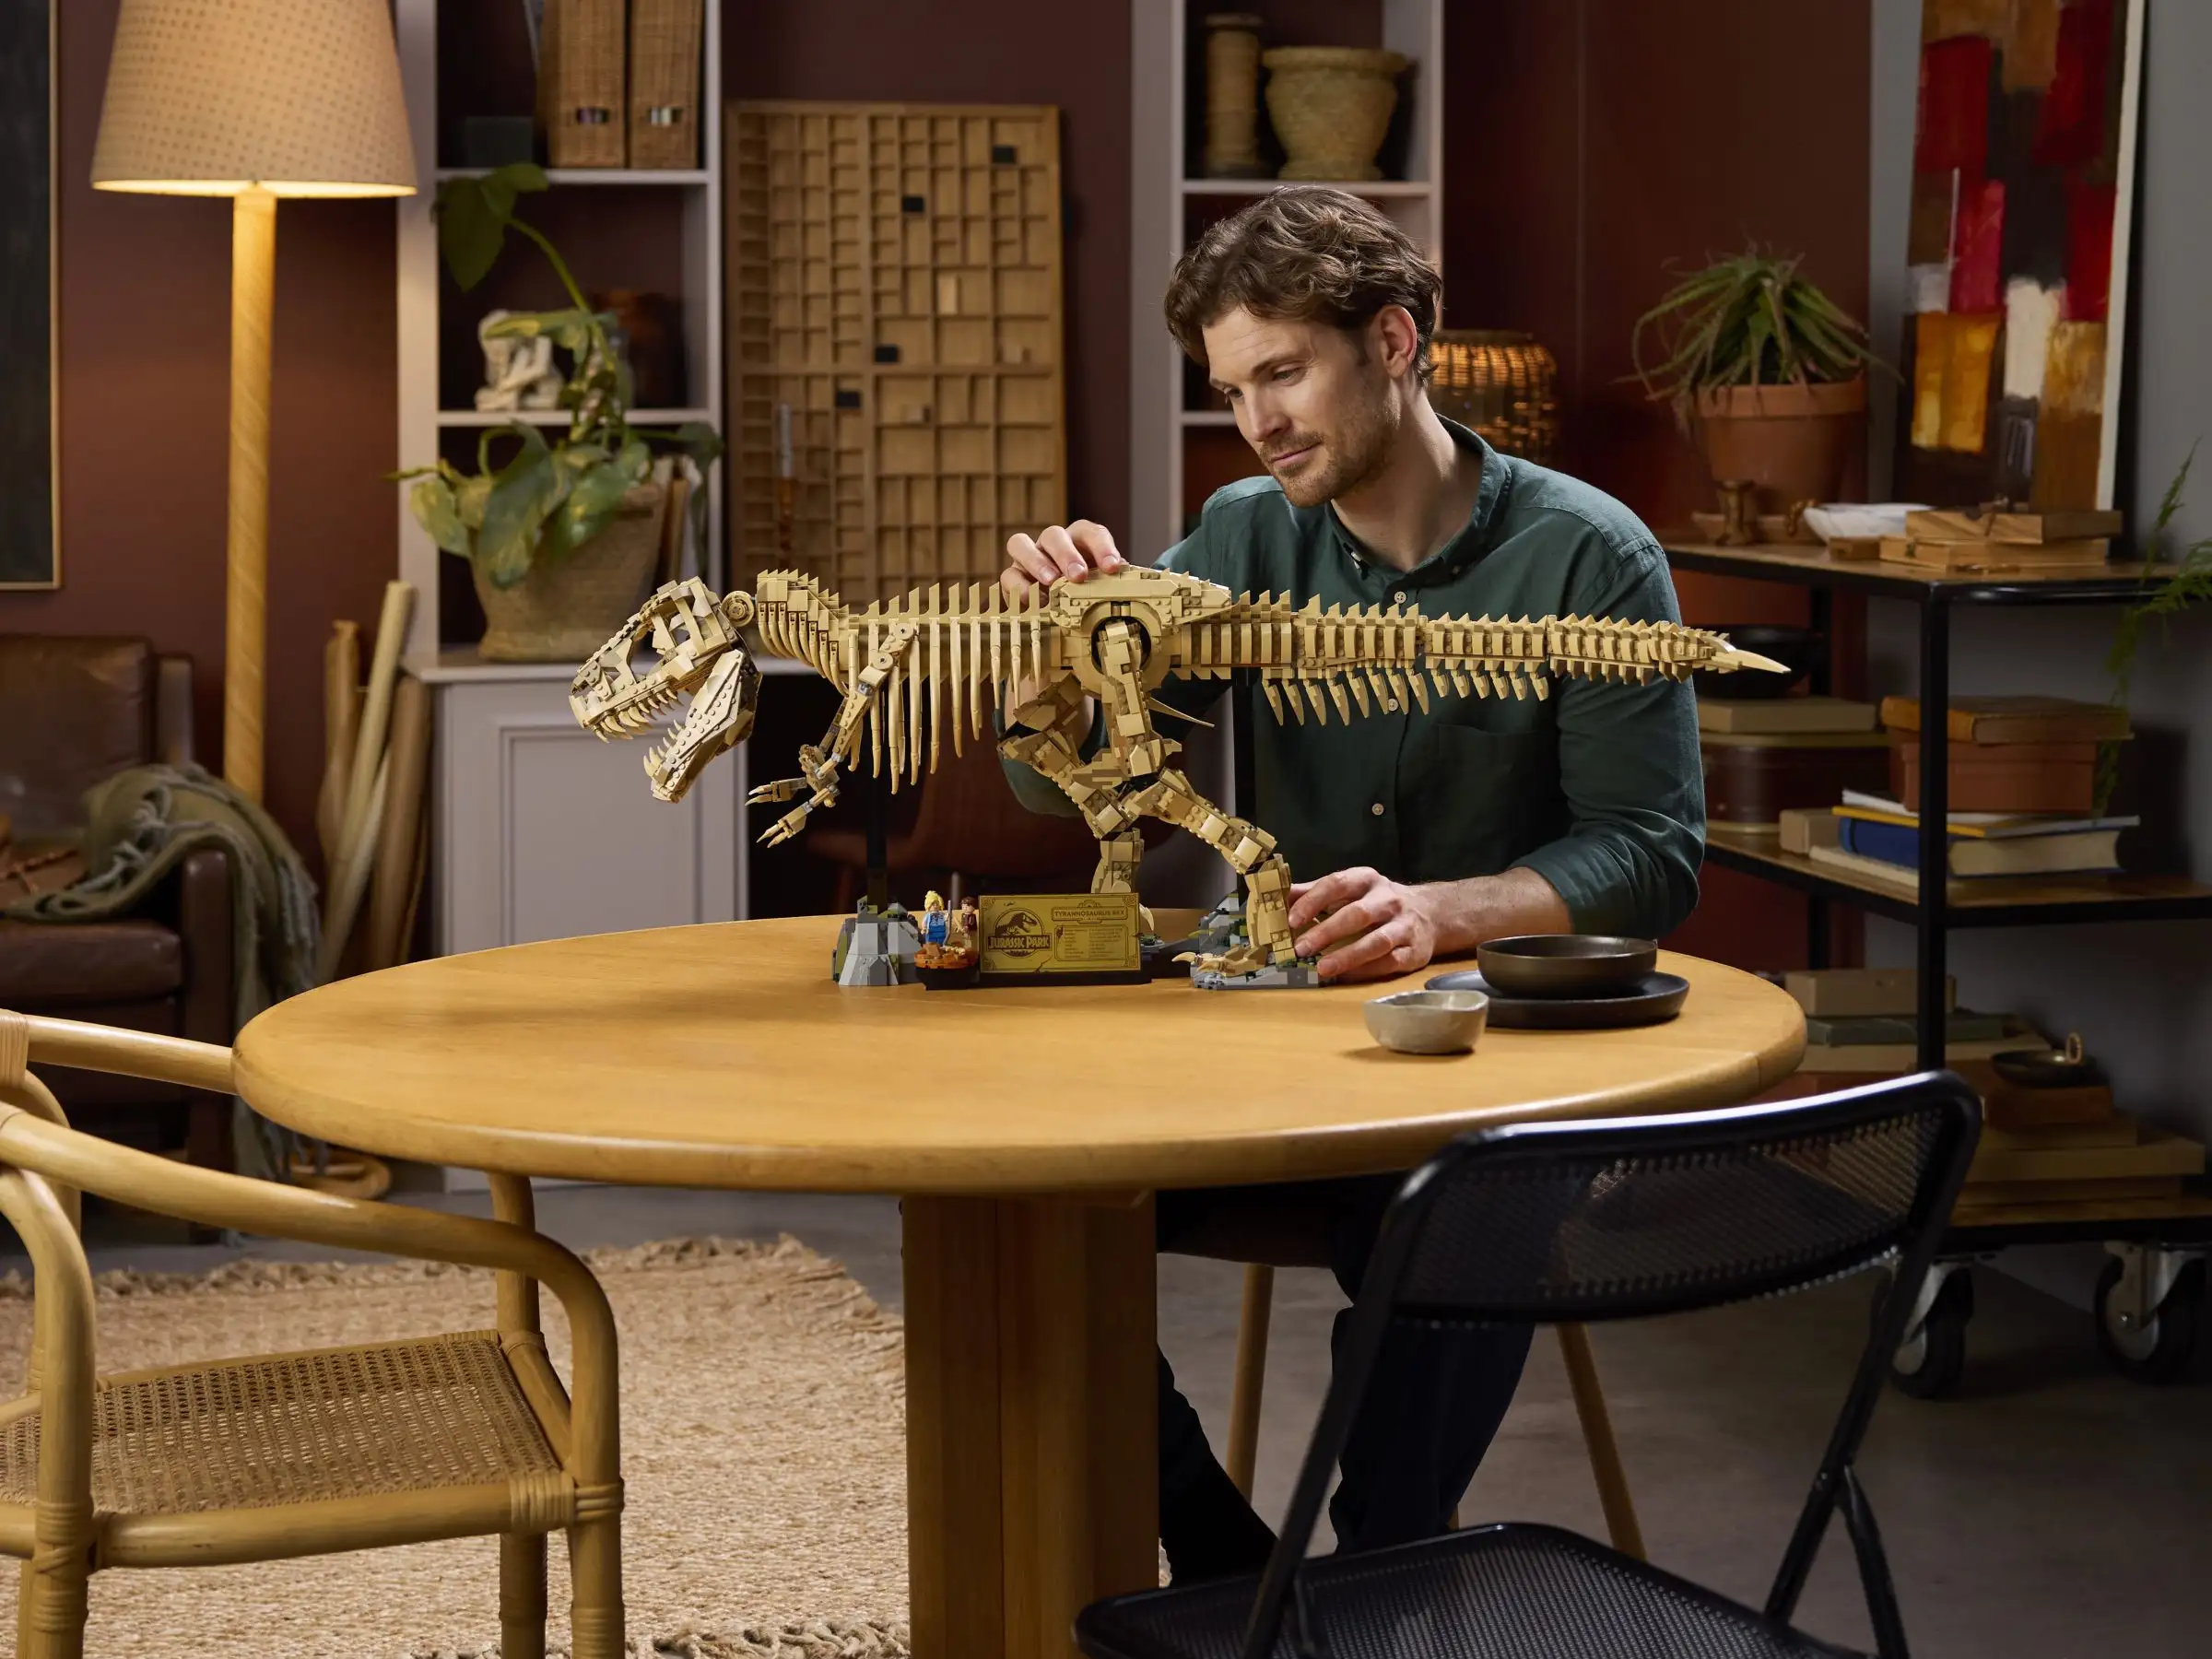
Display Like a Pro: Stands, Light, and Safety
Think of your model as an exhibit. A shelf at adult chest height keeps it visible but out of high-traffic zones. Soft, directional light (a small lamp aimed across the skull) makes contours pop; avoid direct sun that can fade elements over years. If you live with curious cats or tiny siblings, consider a clear acrylic display box or a bookcase with glass doors. For party days, move the T. rex to a centerpiece position with a “Do Not Touch—Fossils at Rest” card. Kids respect exhibits they helped curate.
Dusting is part of the museum vibe. A puffy camera blower or soft makeup brush removes dust without dislodging parts. If a connection loosens over time, lift the section off its stand and reseat panels flat on a table for precise pressure.
Extend the Build: Modularity and Customization
Once the base model is complete, let creativity breathe. Builders love swapping jaw angles, adding a mock display plaque, or integrating terrain under the feet. A simple tan-and-reddish-brown base suggests badlands; scatter “fossil fragments” (light gray plates) half-buried as if paleontologists are mid-excavation. If you have leftover greenery from other sets, position a “Cretaceous fern” cluster for contrast—kids quickly learn the difference between skeleton and environment.
Pose experiments keep the set feeling new: museum-still (tail straight, head forward), stalking (tail slightly up, head angled), triumphant (jaw open, chest lifted). Take photos from low angles so the T. rex looms; print a favorite shot as the exhibit label’s background.
Make It Cross-Curricular: Reading, Math, Art
Reading: Pair the build with a short dino chapter book or a magazine article. After reading, ask for one new fact to add to the exhibit card.
Math: Turn the model into a ruler. Estimate skull length in studs, convert to centimeters, then to meters. Scale up: “If one stud equals 10 cm, how long was the real animal’s skull?” Kids suddenly care about multiplication.
Art: Sketch the fossil from two angles. Challenge older kids to shade shadows cast by the lamp. Younger children can trace the silhouette and cut it out for a wall banner.
Writing: Host a “press opening” for your home museum. Kids draft invitations and practice a 60-second tour script. Public speaking, but make it dinosaur.
Care, Storage, and Moving Day
Life happens—bookcases get bumped, seasons change, vacations call. Keep a small zip bag with rare or easily lost pieces taped under the shelf. Snap a few reference photos of the spine and skull so reassembly is quick after dusting or transport. If you need to pack the model, separate it into backbone sections and wrap each in tissue or a soft cloth. Label the bundle (“Skull—front left hinge here”) and place everything in a shallow box. You’ll thank yourself when you rebuild in minutes instead of hours.
For Younger Builders: Scaffold Without Stealing the Fun
If the recommended age skews above your child, break the process into story chapters: “Dig Site,” “Discover the Skull,” “Tail Tech,” “Museum Opening.” Celebrate each chapter with a photo. Pre-sort the next bag’s parts by color and size to reduce overwhelm. When a step looks fiddly, model the connection once, then let small hands repeat on the mirror side. Praise method, not speed: “I love how you checked that hinge twice.” You’re building persistence as much as a dinosaur.
Shop LEGO Dinosaur Fossils: T. rex
For Older Kids & Teens: Engineering Curiosity
Challenge teens to reverse-engineer one section without the guide by studying connections. Can they replicate a rib cage arc using different plates? Can they design a stronger tail union that still moves? Invite them to photograph the model and mark stress points where the structure carries load—suddenly you’re in an applied physics lab. Encourage documentation: a one-page “design review” with photos and notes is portfolio gold for school projects.

Accessibility and Sensory Considerations
Bright work lights and high-contrast trays help builders with low vision track small parts. For sensory-sensitive kids, allow silent build periods or use ambient music with predictable rhythms. If click sounds are bothersome, place a thin cloth under the build to soften contact noise. Long builds can be tiring—schedule water and stretch breaks, and switch to story time with the finished skull as a prop if attention drifts.
Conclusion
A good LEGO set entertains; a great one invites inquiry. The LEGO Dinosaur Fossils: Tyrannosaurus rex does both. Its sub-assemblies teach structure and balance, its poseability rewards careful hands, and its presence anchors a family science corner that kids actually revisit. Start with a smart workspace and a flexible build schedule, add small rituals like an exhibit card and soft lighting, then fold in playful experiments—footprints in clay, tail-balance tests, scale conversions. Keep care simple and display proud, and your T. rex won’t just sit on a shelf. It will become a conversation starter, a STEM launchpad, and a reminder that the best learning feels like discovery.
Shop LEGO Dinosaur Fossils: T. rex
FAQ
- How long does the build take for a mixed-age family?
Plan 2–3 relaxed sessions. Younger builders appreciate a morning/afternoon split; teens can finish in a focused evening if sorting is prepped. - Is the model sturdy enough for play?
It’s designed primarily for display and gentle posing. Treat joints with care and press near connections when adjusting. - What’s the best way to dust the model?
Use a soft makeup brush or camera blower. Avoid damp cloths that can snag small elements. - Can I add a base or terrain without weakening the model?
Yes—build a separate plate-based terrain and peg the feet onto exposed studs. Keep the spine and hips untouched for stability. - How do I keep small parts from disappearing?
Store spares in a labeled zip bag taped under the shelf. Photograph key angles for quick reassembly. - Any tips for posing the T. rex?
Balance head and tail positions. A slight head turn and open jaw read dynamic; museum-still poses look elegant under side lighting. - How can I turn this into a learning project?
Write an exhibit card, measure and scale skull length, test balance with added “muscle” weights, or sketch the fossil from life. - Is it compatible with other LEGO themes?
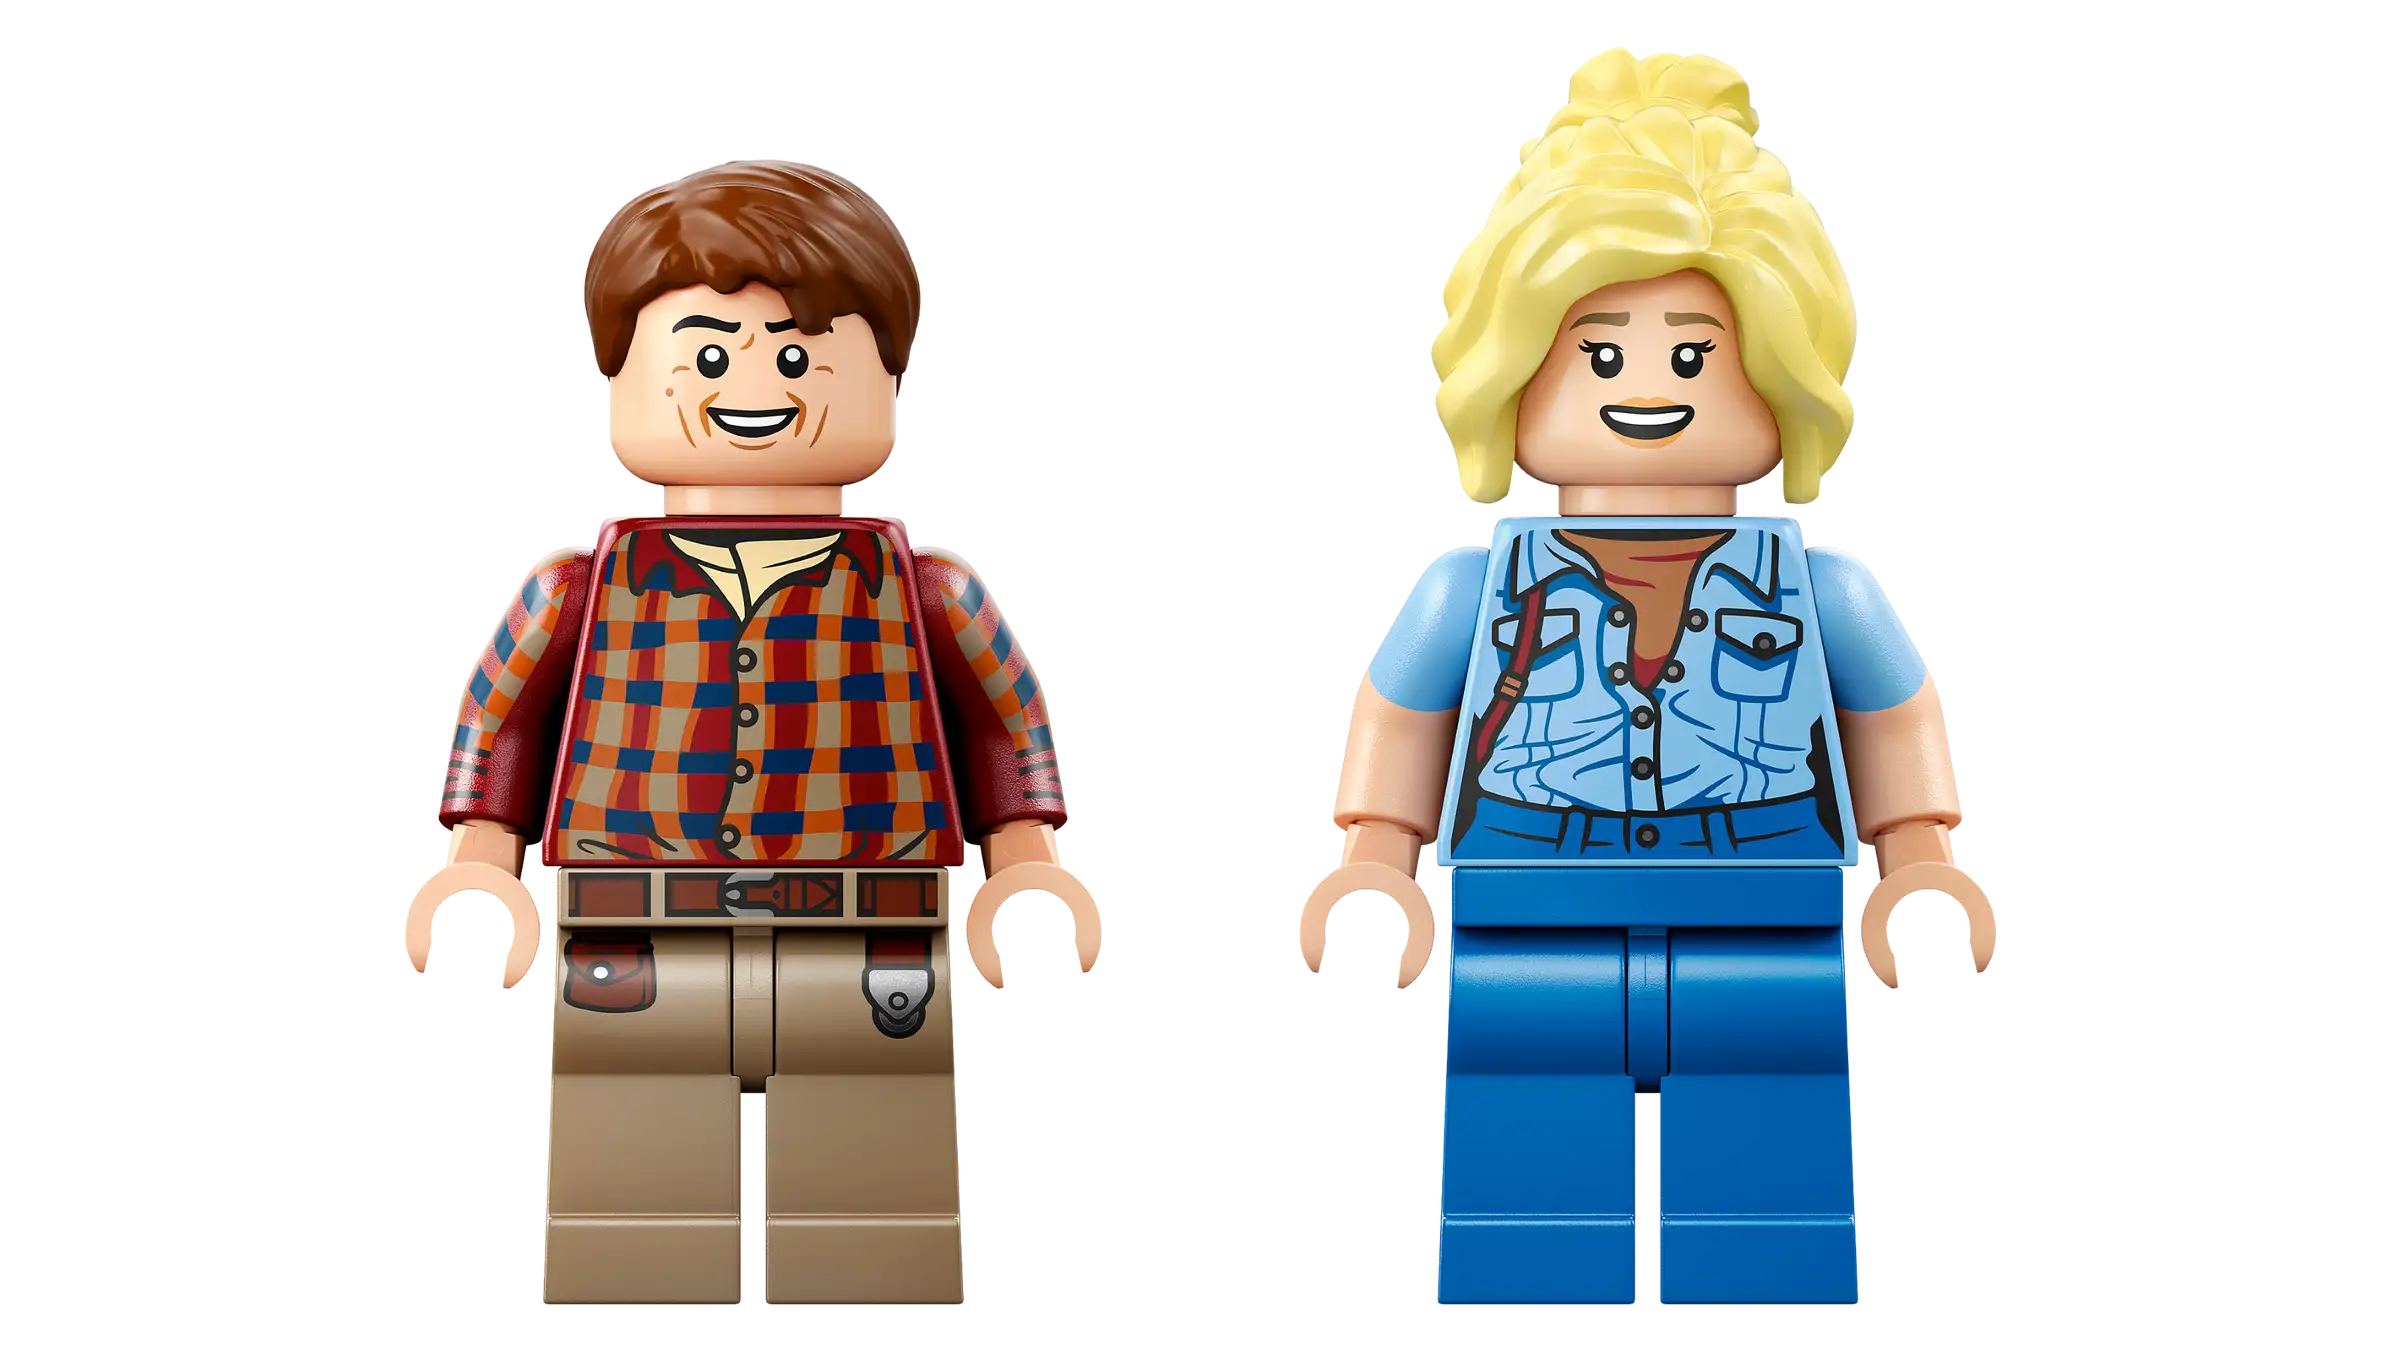
Absolutely. Pair with minifigs for a museum diorama, or build a dig site scene with terrain and equipment from your collection.