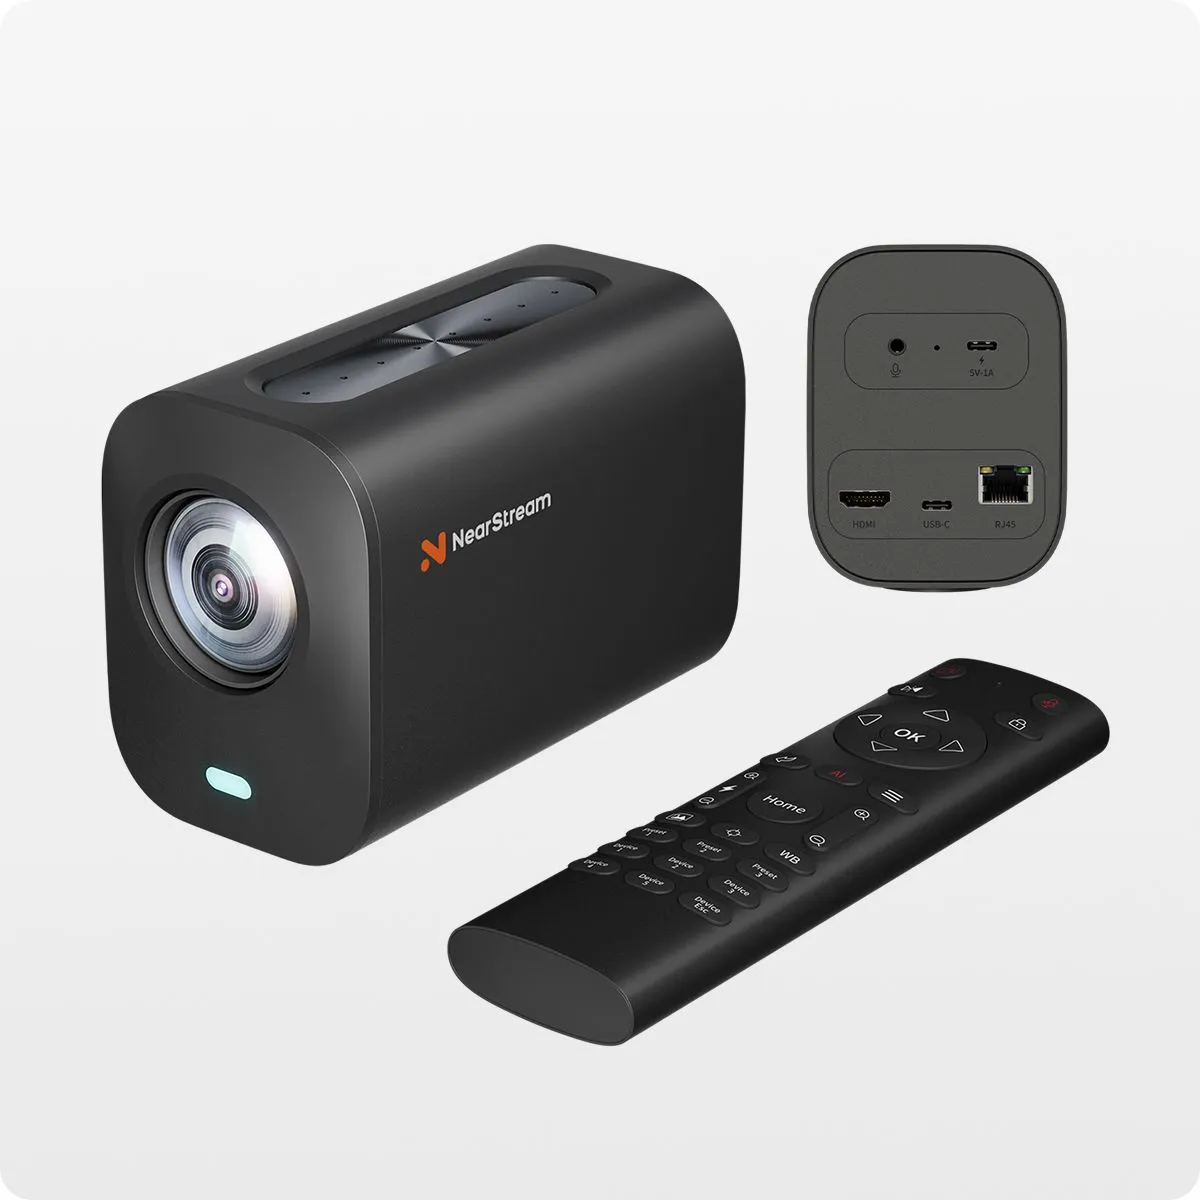

There’s a reason audiences stick around for “clean.” Sharp focus, flattering color, and stable exposure tell viewers you’re intentional—even before they hear a word. In this article, we’ll turn the NearStream VM20 4K Streaming Camera into your go-to studio eye, covering out-of-the-box setup, lighting geometry, color profiles, bitrates, OBS/NLE tuning, and sound integration. You’ll leave with a repeatable workflow you can fire up in minutes, whether you’re hosting a live Q&A, filming how-to content, or presenting a movie watch-along.
Shop NearStream VM20 4K Streaming Camera
Why the NearStream VM20 4K Streaming Camera Punches Above Its Weight
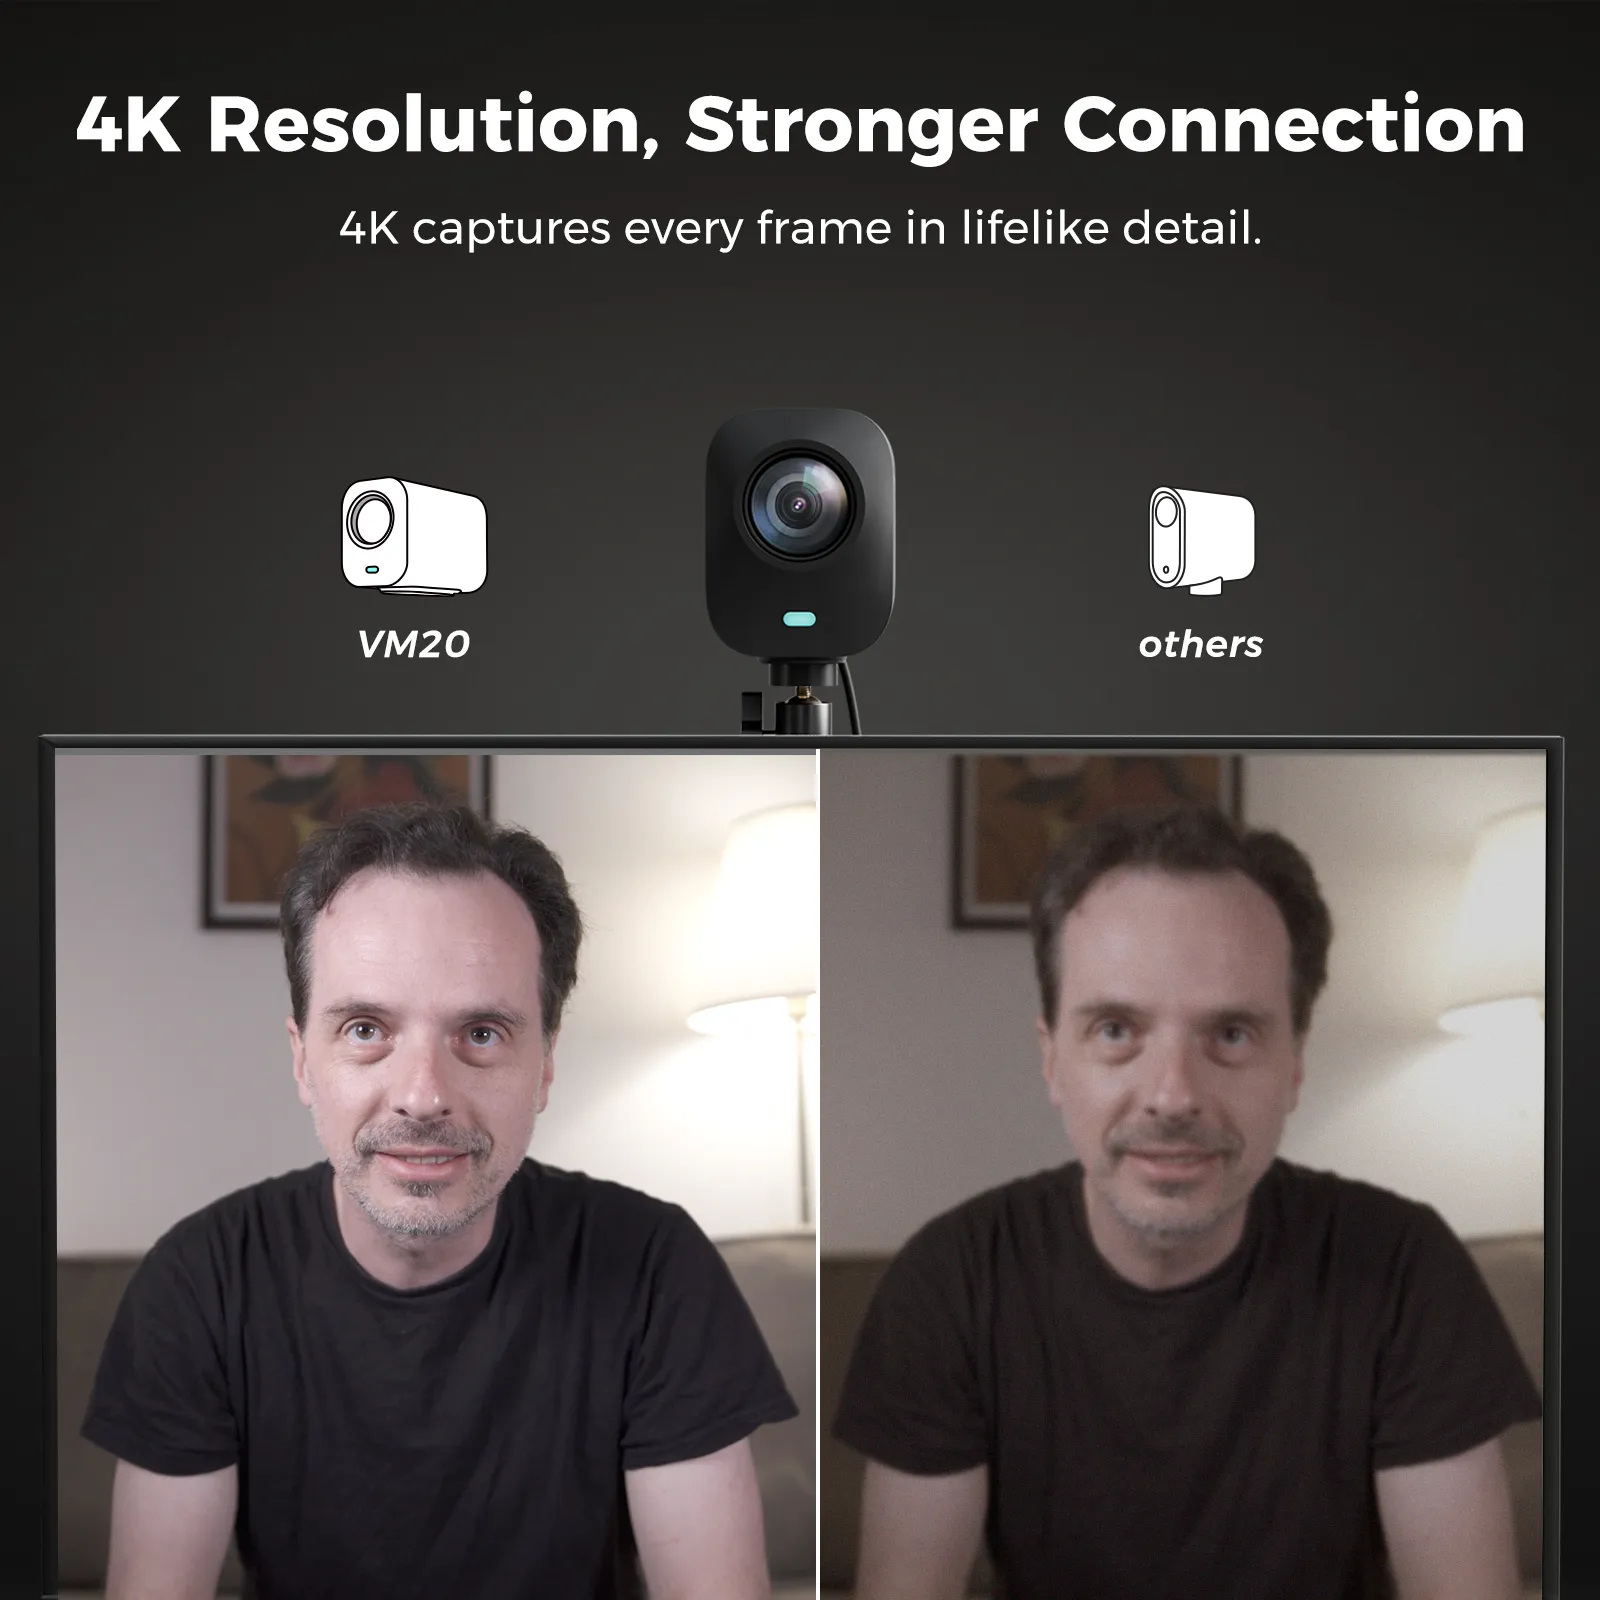
The NearStream VM20 4K Streaming Camera is built for creators who want “cinema-adjacent” clarity without wrestling a full mirrorless rig. You get crisp 4K capture, clean wired reliability (goodbye, random Wi-Fi drops), and a sensor/processing pipeline tuned for skin tones and detail retention. That combo matters for Movies & Streaming creators: trailer reactions, scene breakdowns, or live interviews look immediately more premium when the camera handles contrast, specular highlights, and motion naturally—so you can concentrate on hosting.
The Fast Start: A Five-Minute Setup That Scales
- Mount & Frame: Place the VM20 slightly above eye level, aimed down 10–15°. This angle slims the jawline and reduces glare from glasses.
- Cable Clean: Use a short, quality cable to your capture device or USB host; secure with a small strain-relief loop. Stability > length.
- Base Exposure: Start at 1/60 shutter for 30 fps streams (1/50 for 25 fps, 1/120 for 60 fps). Lock ISO as low as your lights allow to keep noise down.
- White Balance: Manually set WB to match your key light (e.g., 5600K for daylight panels). Auto WB will drift when scenes change.
- Focus Strategy: If the VM20 supports face/eye AF, enable it and set focus area to “center-weighted” to avoid hunting when you gesture.
Once this baseline is locked, every stream starts consistent—and your edit time drops because skin tones match from clip to clip.
Lighting Geometry: Flattering Faces in Any Room
Great cameras love great light. Use a simple three-point recipe tailored for streaming:
- Key Light (main): 35–45° off-axis and slightly above eye line. Diffuse (softbox or umbrella) to smooth skin and avoid harsh shadows.
- Fill Light: Opposite side, lower intensity (30–50% of key). Controls contrast for a natural, filmic look.
- Back/Edge Light: Positioned behind and above to separate you from the background; keep spill off the lens.
No space for three lights? Go key + back and let ambient bounce handle fill. The NearStream VM20 4K Streaming Camera will repay you with cleaner edges, better perceived sharpness, and consistent exposure—so the stream looks expensive with minimal kit.
Shop NearStream VM20 4K Streaming Camera
Color & Skin Tones: Profiles That Survive the Internet
Compression is ruthless. Keep tones flattering by starting neutral:
- Color Profile: Choose a neutral/standard look with moderate contrast. Super-flat profiles can band when streamed; super-vivid can clip reds and oranges.
- Saturation & Contrast: Nudge saturation +3–5% only if your set is muted. Keep contrast restrained—let lighting create depth.
- White Balance Offsets: If your background is warm (lamps, wood), bias WB slightly cooler to keep skin fresh; do the opposite for cold, blue sets.
In OBS or your NLE, apply a light, consistent grade (minor gamma lift, subtle contrast S-curve). The NearStream VM20 4K Streaming Camera’s clean base color makes micro-grades effective without artifacts.
4K vs. 1080p: When to Stream, When to Record
- Live streaming: Many platforms still transcode 4K aggressively. If bandwidth is tight, capture 4K from the VM20 but stream 1080p at a healthy bitrate (6–10 Mbps for 30 fps, 8–12 Mbps for 60 fps).
- Local recording: Record true 4K locally for highlight edits, thumbnails, and archival. Downscale to platform-friendly 1440p/1080p in post for crisp results.
This hybrid keeps your live experience stable and your VODs razor-sharp, leveraging the NearStream VM20 4K Streaming Camera where it shines most.
One Hybrid Block (Bullets + Guidance): The “Cinematic in 60 Minutes” Checklist
- Lock Shutter & WB: 1/60 (30 fps) and fixed Kelvin to stop flicker/drift.
- Expose for Skin: Slightly protect highlights; recover shadows in post if needed.
- Tame Reflections: A matte face powder or anti-shine wipes minimize hotspot flares on foreheads.
- Distance = Depth: Sit ~1–1.5 m from camera and at least 0.8–1 m from background for pleasant separation.
- Backdrop Discipline: Add a lamp or small LED practical behind you for depth; keep background brightness 1–1.5 stops below your face.
- Test, Record, Review: Film a 60-second rehearsal, check scopes/histogram if available, adjust once—then go live.
Shop NearStream VM20 4K Streaming Camera
Audio That Matches the Picture (Because Viewers Hear Quality First)
A stunning image with messy audio feels amateur. Pair the NearStream VM20 4K Streaming Camera with a dynamic mic (for untreated rooms) or a small condenser (for treated spaces). Route through an audio interface or virtual mixer; set peak levels around −12 dBFS with a soft limiter. If your camera supports audio pass-through, keep it as a sync reference only—your main mix should come from the interface. In OBS, set a 20–30 ms audio offset if lips trail/lead; save it as a profile so it’s automatic next time.
OBS Studio Tuning: Stability, Not Guesswork
- Video Capture Source: Set resolution to the camera’s native; let OBS do the minimal scaling.
- Color Range: Use “Full” for both camera and OBS if available; mismatch creates gray blacks.
- Filters:
- Sharpen (low): 0.05–0.1 if your downscale softens the image.
- Color Correction: Tiny gamma and contrast trims, saturation +0.02–0.05.
- Noise Suppression: Light touch on mic only—never on the camera feed.
- Recording Preset: High-quality, indistinguishable (CQP/CRF 15–20) for local 4K archives.
The NearStream VM20 4K Streaming Camera holds detail well; your job is to avoid over-processing and let the optics work.
Framing That Reads “Film,” Not “Webcam”
- Headroom: Use “forehead’s width” of space above the head—too much headroom screams laptop cam.
- Rule of Thirds: Eyes near the top third line; look into the frame (more space in front of your gaze).
- Lens Look: If the VM20 supports crop/zoom without quality loss, emulate a 35–50 mm “portrait” field of view for natural proportions.
- Eye Contact: Place chat or notes as close to lens axis as possible; your audience feels seen.
Troubleshooting Image Issues (Fast Fixes)
- Banding/Color Steps: Add a touch of noise reduction in post or increase fill light to avoid lifting deep shadows too far. Keep gradients gentle.
- Over-Sharpening Halos: Reduce in-camera sharpening; let genuine detail carry the image.
- Low-Light Noise: Increase light before raising ISO. If unavoidable, small denoise in post (NLE) beats in-camera heavy noise reduction.
- AF Hunting: Increase contrast on the face (add a bit more key), set focus area, or reduce background movement (fans/LED motion).
Shop NearStream VM20 4K Streaming Camera
Backgrounds: Story Without Distraction
Your set is a character. Keep three layers: you (brightest), props (mid), far background (dim). One plant, one framed poster, and a practical lamp beat a cluttered shelf. For movie channels, a minimal poster or steelbook stack cues your niche without dominating color balance. The NearStream VM20 4K Streaming Camera will hold micro-detail—so dust and crooked frames will show; prep the frame before you go live.
Recording & Repurposing: More Content from Every Session
Capture a clean 4K feed locally while you stream. After the live, chop highlights for shorts and reels; the extra resolution gives you cropping headroom (tight close-ups for reactions, medium for commentary). Use a two-tone LUT set—one for the live look, one for post—to keep your brand consistent across platforms.
Maintenance & Reliability Habits
- Lens Care: A puffer and microfiber cloth beat shirt sleeves every time. Clean weekly.
- Firmware: Check quarterly—image tuning and stability updates matter.
- Cable Discipline: Replace tired cables; avoid loose hubs; label ports so teardown is painless.
- Heat Management: Allow airflow around the camera; long 4K sessions generate warmth.
The VM20 + Stream Deck Tag-Team (Optional but Powerful)
Pair the NearStream VM20 4K Streaming Camera with a macro controller to map scene switches, focus toggles (if supported), ISO/WB presets, and light modes. One tap: “Cinema Warm”—your lights shift, WB locks, and a lower third fades in. Next tap: “Trailer Reaction”—music dips, picture-in-picture pops, and your VM20 zoom preset centers your face.

Conclusion
Great streaming cameras do two things: they disappear while you perform, and they deliver files that grade beautifully after the fact. The NearStream VM20 4K Streaming Camera nails both. Lock exposure and white balance, light intentionally, and keep color neutral with minor, repeatable tweaks. Stream at viewer-friendly bitrates while recording pristine 4K for edits. With a few habits—clean lens, stable cables, consistent profiles—you’ll look “studio” every time, in minutes, not hours. Your audience gets the visual respect they deserve, and you get a faster, calmer workflow that scales with your channel.
Shop NearStream VM20 4K Streaming Camera
FAQ
- Should I stream in 4K or 1080p with the VM20?
Stream 1080p for stability unless your platform and bandwidth support robust 4K; always record 4K locally for archival and edits. - What shutter speed should I use?
Use 1/60 at 30 fps (1/120 at 60 fps). This keeps motion natural and reduces flicker under LED lights. - Auto white balance or manual?
Manual. Set Kelvin to your key light (e.g., 5600K). Auto WB drifts with on-screen changes and can tint skin unpredictably. - How do I avoid a “webcam” look?
Raise the camera slightly, control headroom, add a soft key + backlight, fix white balance, and keep background 1–1.5 stops darker than your face. - Is the built-in mic enough?
Use a dedicated mic/interface for primary audio. Keep the camera’s feed as a sync/reference in OBS. - Best way to prevent focus hunting?
Enable face/eye AF if available, increase key light for contrast, and reduce moving lights or screens in the background. - Why does my image look noisy at night?
Add light before raising ISO. If you must raise ISO, apply minimal denoise in post rather than heavy in-camera smoothing. - Do I need a LUT?
Not required, but a subtle LUT or color correction stack (gamma + gentle contrast) keeps your channel’s look consistent across videos. - How far from the camera should I sit?
About 1–1.5 meters for flattering perspective and easy eye contact; keep at least 0.8–1 meter from the background for separation.