
“I’m bored.” Heard that lately? The fastest way out of boredom is a living, moving mystery kids can explore with their own hands. In this article, we’ll set up the My Living World Worm World and show you how a small worm habitat turns curiosity into real science — observation, prediction, and care — all while gently introducing composting and ecosystem thinking. In this article, you’ll learn how to build the habitat, run kid-friendly experiments, keep worms healthy, and connect the project to reading, writing, and art.
Shop My Living World Worm World
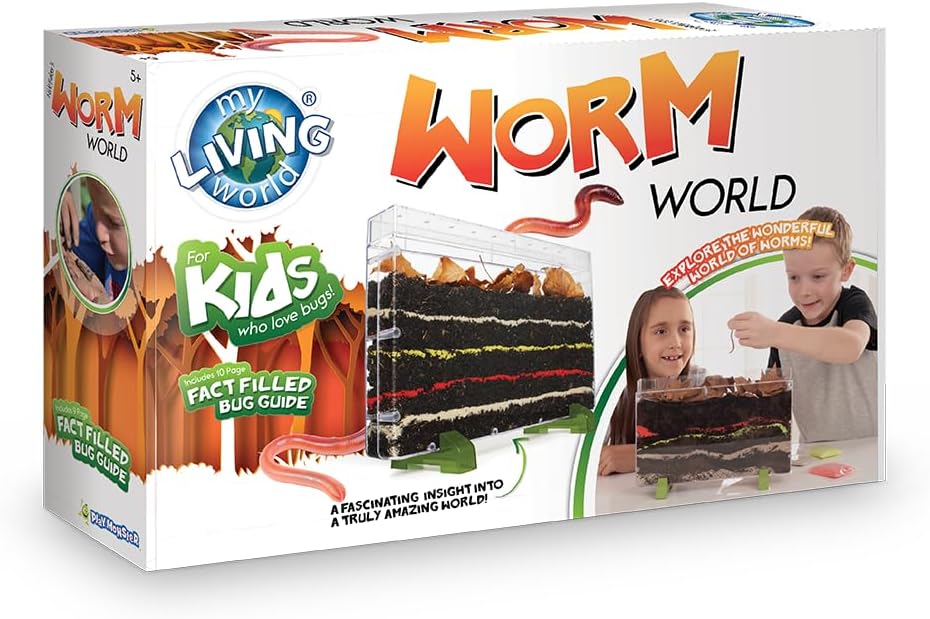
What the Kit Is (and What It Isn’t)
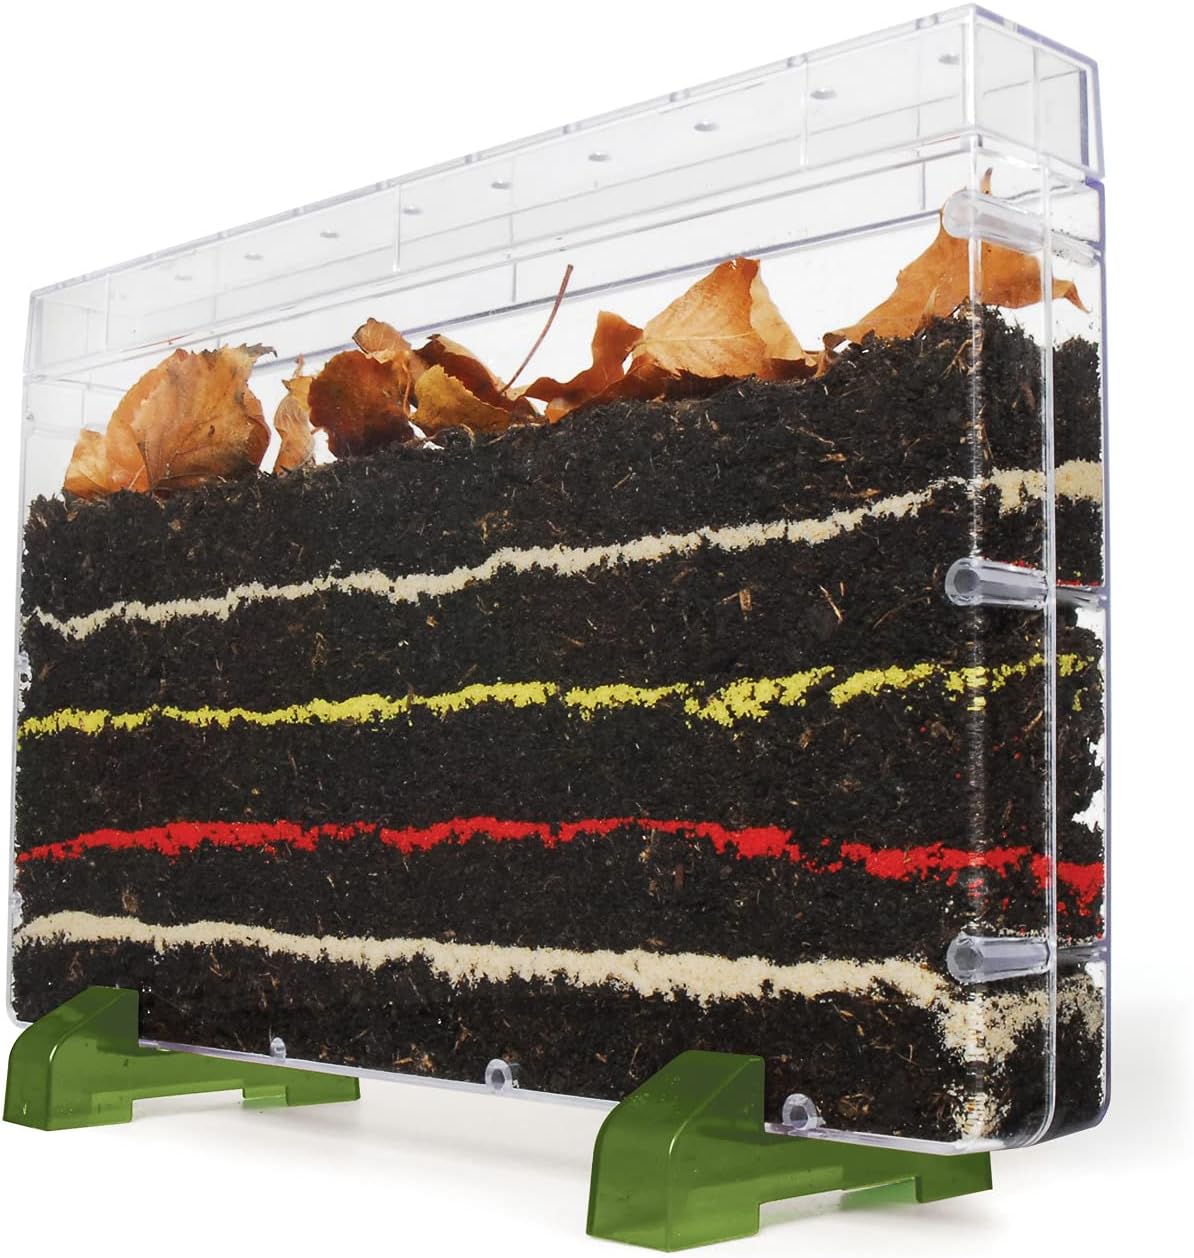
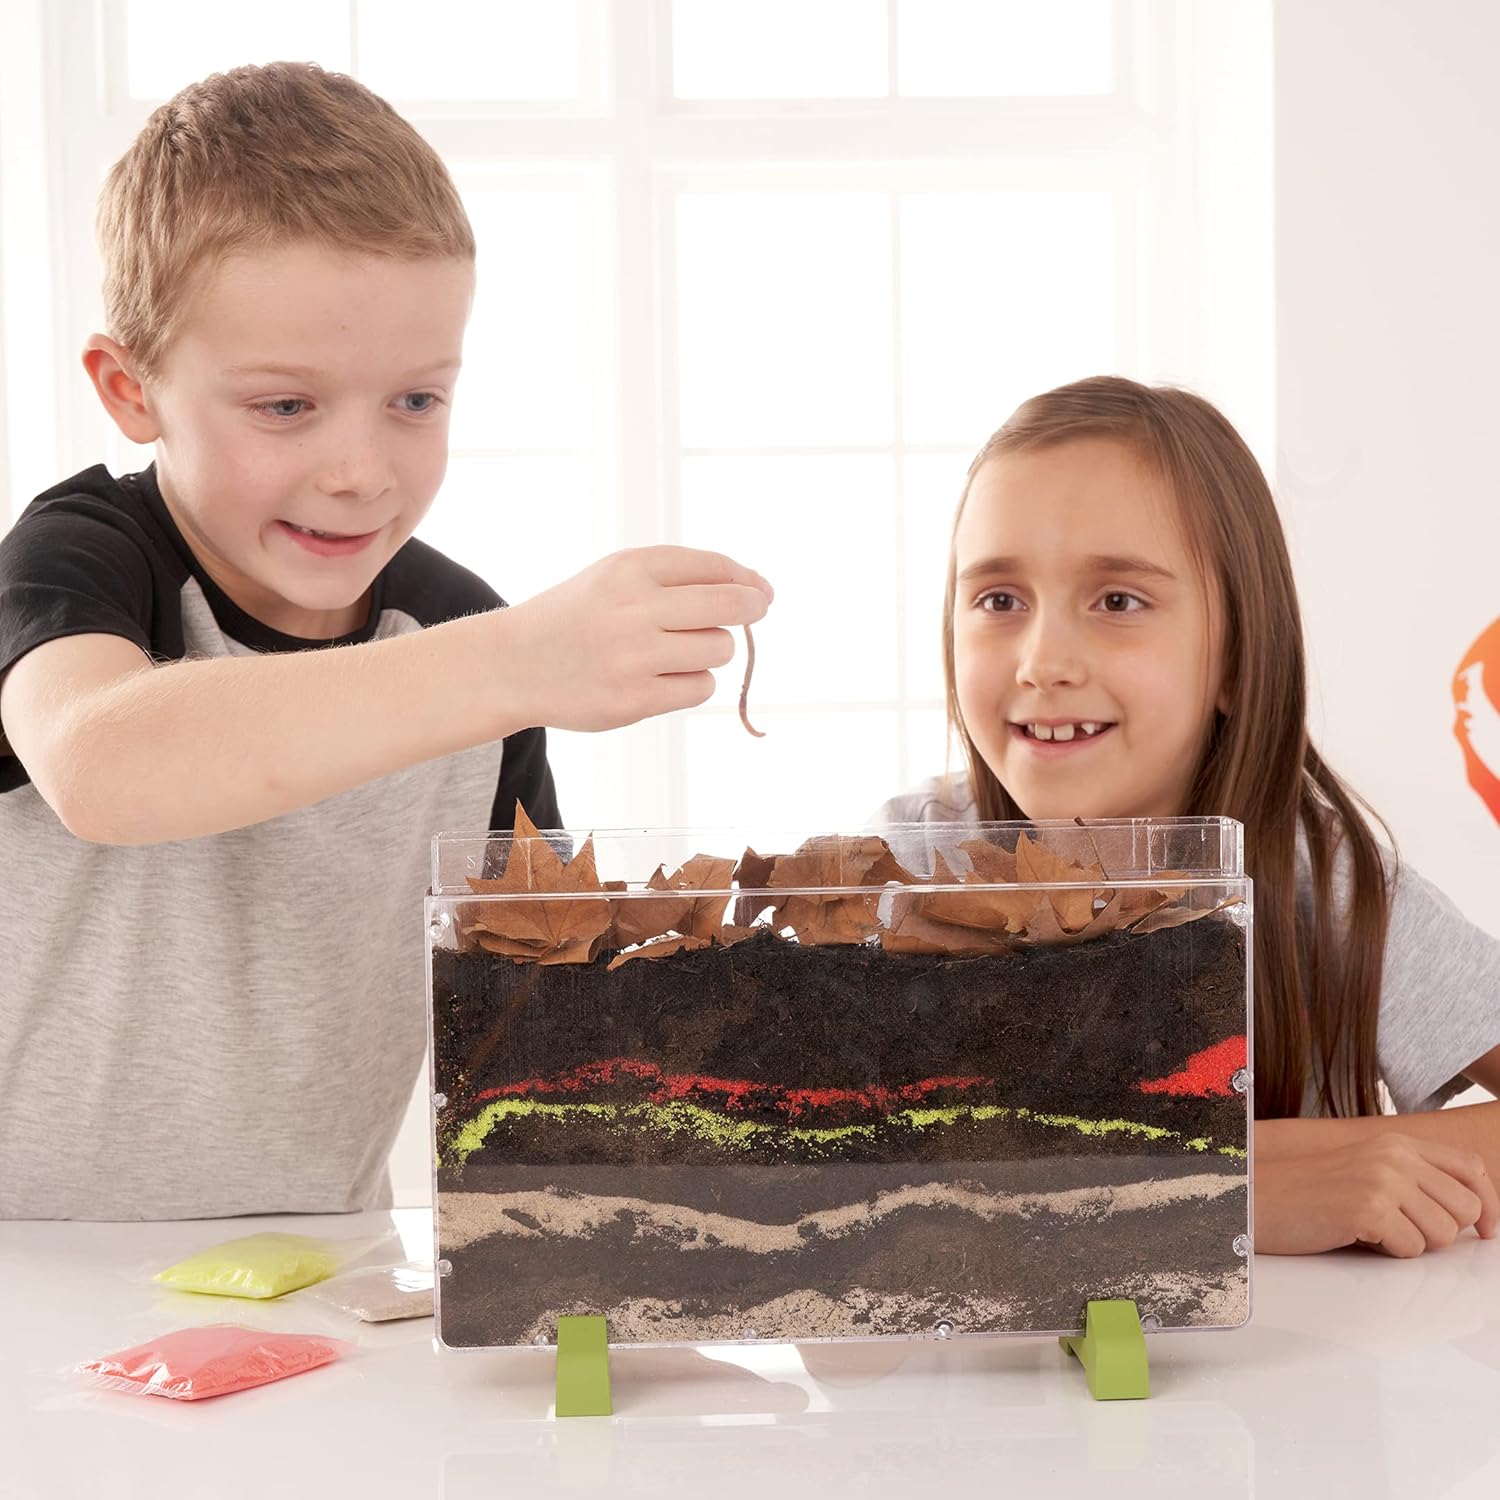
The My Living World Worm World is a clear, layered habitat designed so children can see what worms usually do underground: tunneling, mixing soil, and pulling leaves down from the surface. Think of it as a mini eco-lab — not a toy terrarium, not a long-term farm in a sealed box. Your job is to prepare safe bedding, add a few earthworms (collected from a garden or purchased responsibly), observe daily, and return them to a suitable outdoor spot after your investigation window. In the meantime, kids get real, slow magic: tunnels appearing overnight, leaves vanishing, and soil layers blending into new colors.
Fast Start: 20-Minute Setup That Works Every Time
- Gather materials: the My Living World Worm World, clean sand, potting soil (peat-free if possible), a handful of dry leaves, and a fine mister.
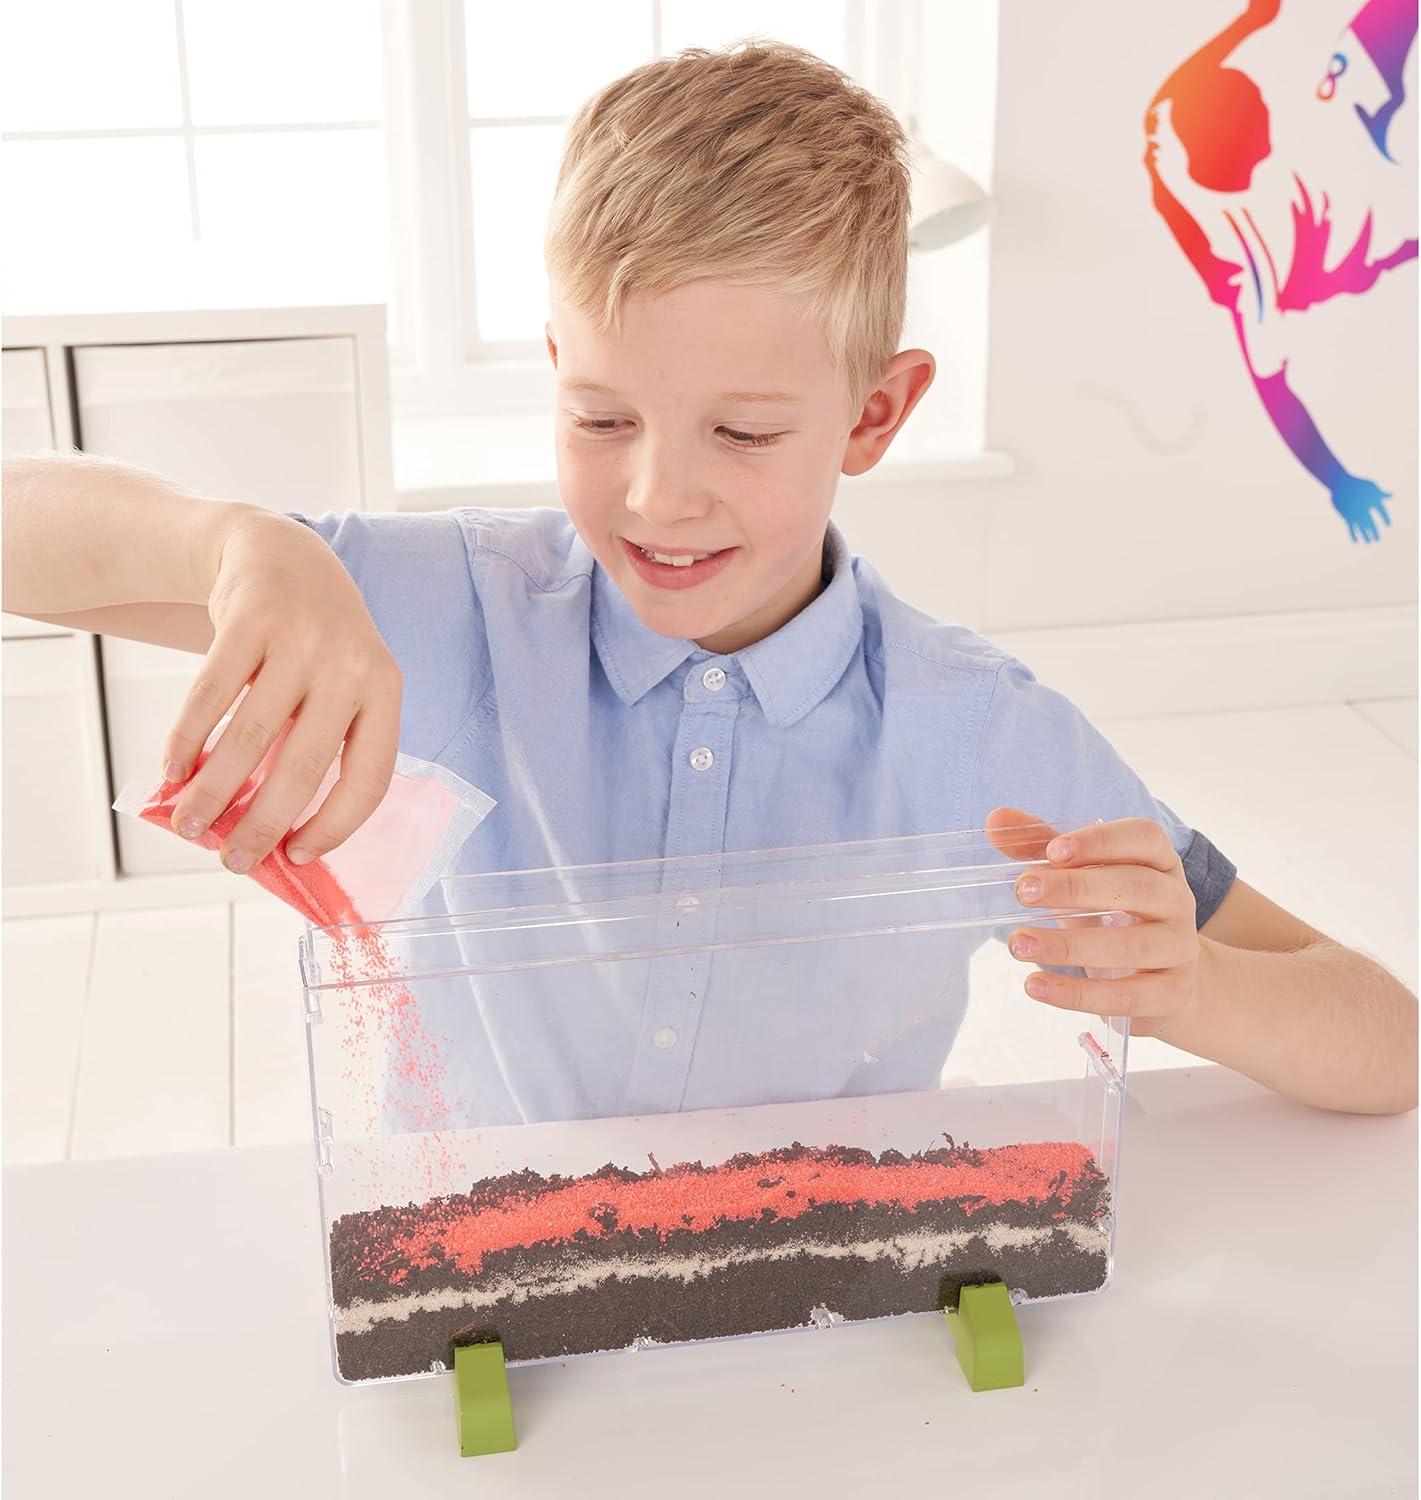
- Layer for visibility: alternate thin layers of slightly damp sand and soil (sand/soil/sand/soil) up to two-thirds of the habitat. Thin stripes make tunneling easy to spot.
- Moisture check: squeeze a soil pinch — it should clump, not drip. Mist until there’s even dampness.
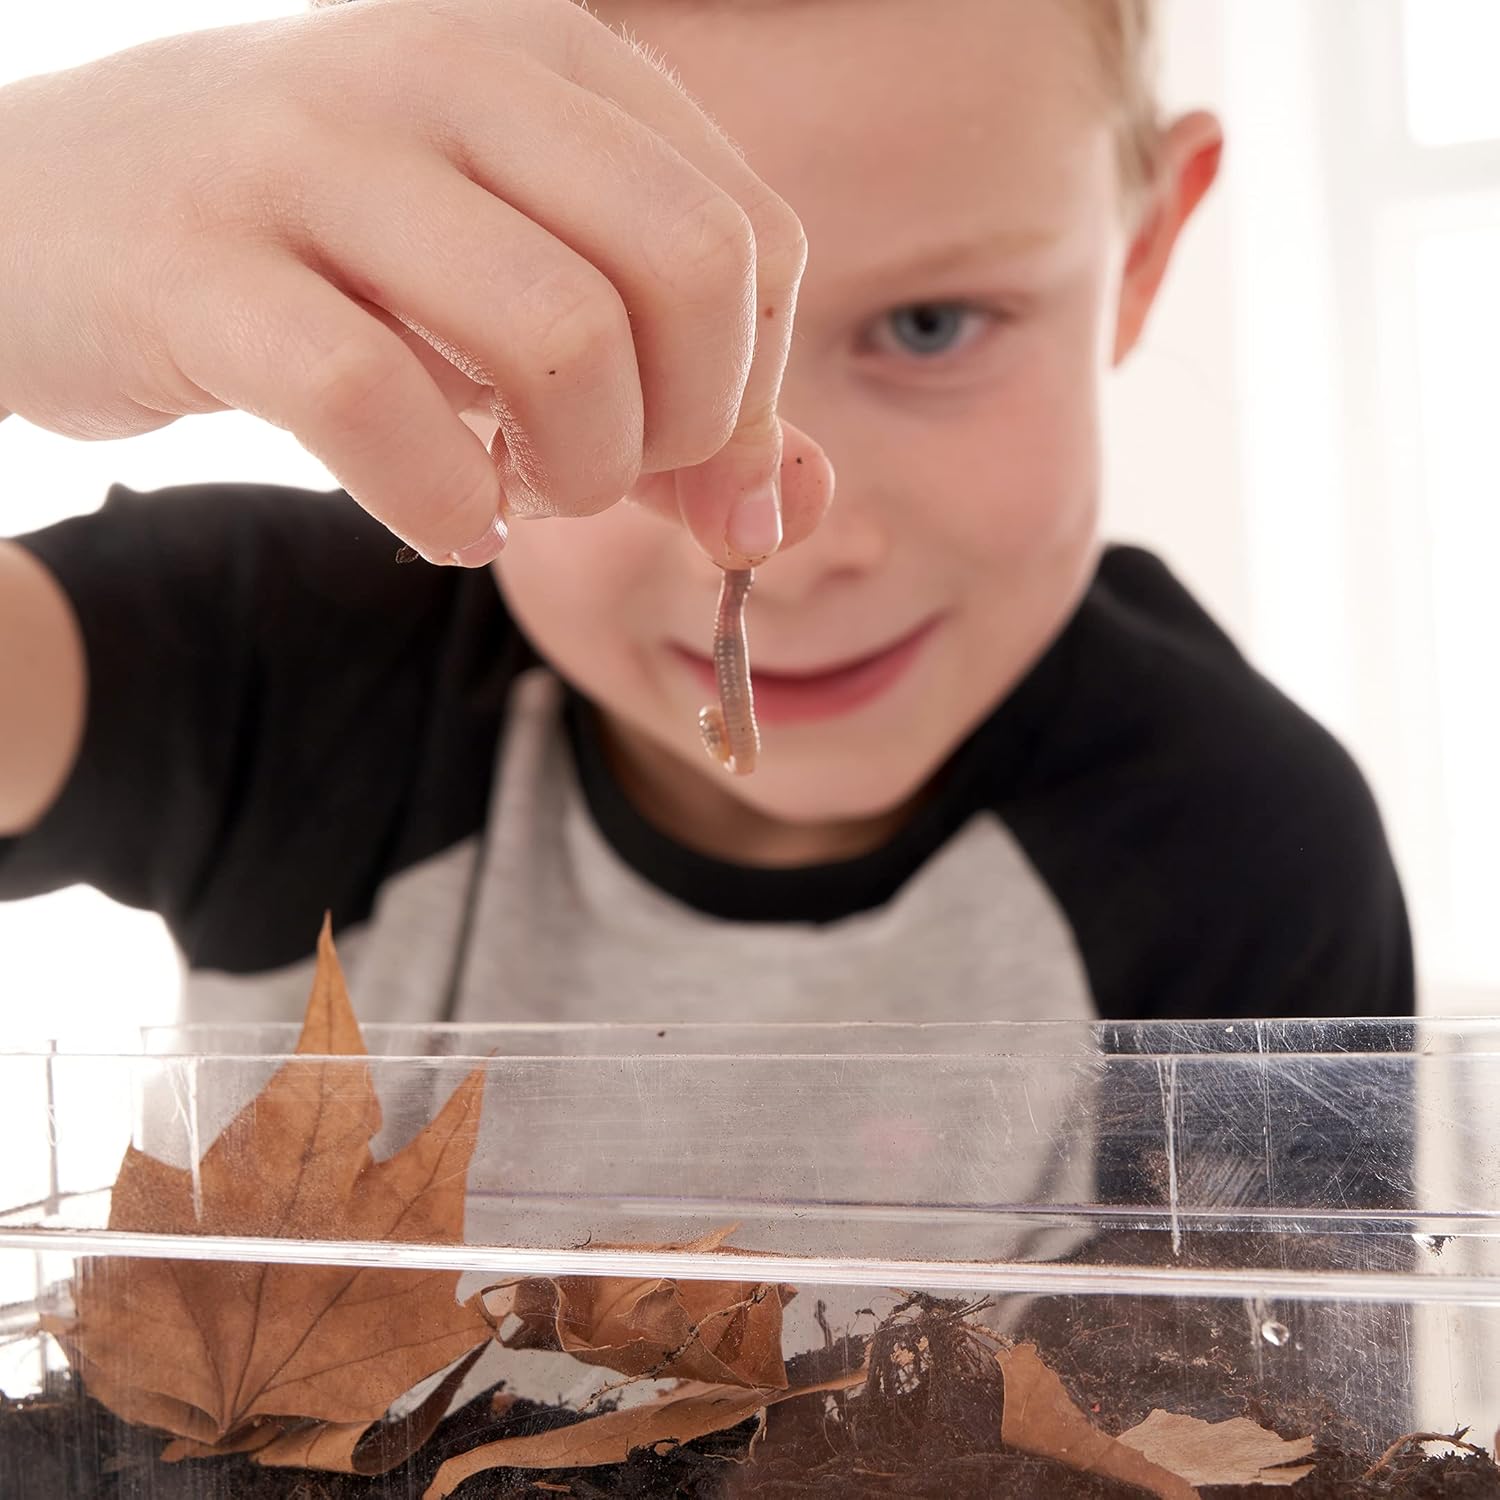
- Add worms: 3–6 earthworms is plenty. Gently place them on top; they’ll dig down on their own.
- Food & cover: lay a small handful of chopped leaves or vegetable peelings on the surface and cover the outside of the habitat with dark card so it feels like underground.
- Location: set the My Living World Worm World in a cool spot out of direct sun. Worms are light- and heat-sensitive.
Shop My Living World Worm World
Science Skills (Disguised as “Look What They Did!”)
- Observation: children notice new tunnels and compare them day to day.
- Measurement: use a ruler to track tunnel depth or layer blending in centimeters.
- Prediction: “If we add leaves, will they disappear by morning?”
- Recording & communication: sketch tunnels, date pages, and write one-sentence conclusions.
- Systems thinking: kids connect worms→soil mixing→healthy plants→food — a simple food web in action.
The My Living World Worm World makes these skills feel natural because results are visible and personal: their worms, their habitat.
How to Feed (and What to Avoid)
Worms love small, soft, plant-based scraps: lettuce shreds, cucumber peel, thin apple peel, tiny carrot gratings, paper bits moistened with water. Feed very small amounts — a teaspoon at a time — every 2–3 days and remove anything moldy. Avoid citrus, onion, garlic, spicy foods, meat, dairy, oils, and large amounts of bread (they sour the habitat). The rule of thumb: when in doubt, offer less and watch.
Moisture, Light, and Temperature: The “Goldilocks Zone”
- Moist, not wet: mist lightly when the top looks dry. If condensation builds heavily, lift the lid briefly to air out.
- Dark comfort: keep the habitat wrapped with a removable card sleeve; reveal windows only for viewing.
- Cool and calm: room temperature is fine; hot windowsills are not. Vibrations and loud bangs can stress worms — choose a stable shelf.
Follow these habits and the My Living World Worm World will feel like safe underground, not a fishbowl.
Five Simple Experiments Kids Can Run
- Layer Mixer: Take a photo on Day 1 and Day 7. How many stripes remain? Draw before/after.
- Leaf Lift: Place two leaf types (e.g., oak vs. lettuce). Which disappears first? Why might that be?
- Paper vs. Peel: Offer equal-size bits of damp paper and cucumber peel. Which do worms pull down preferentially?
- Moisture Matters: Set up two mini cups in the top layer — one damp, one very slightly drier. Where do worms gather? Discuss comfort zones.
- Tunnel Count: Mark a grid on the outside with a transparency marker. Count tunnels per square; graph results.
Each experiment fits in a notebook with date, question, prediction, observation, and a sketch. This is authentic inquiry, just scaled to little hands.
Shop My Living World Worm World
Cross-Curricular Hooks (So Learning Spreads)
- Reading: pair the habitat with a short nonfiction text on soil organisms; build a vocabulary list (tunnel, segment, moist, decompose, aerate).
- Writing: “A Day in the Life of a Worm” — first-person narrative using real observations.
- Math: measure tunnel length; make a simple bar graph of daily counts.
- Art: mixed-media soil cross-section with paper layers, thread roots, and painted worms.
- Geography/Environment: link worm activity to composting, gardens, and food waste.
The My Living World Worm World becomes a hub: one little habitat, many learning doors.
Safety & Ethics: Kindness is the Lesson
Teach the rule: We watch with our eyes, not our fingers. Hands stay outside the habitat unless a grown-up is moving or releasing worms. No tapping the walls, no shaking. Present the final step — returning worms to a shady, damp garden patch — as part of the project plan, not an afterthought. Stewardship matters: kids see themselves as caretakers, not owners.
Troubleshooting Real-World Hiccups
- Funky smell? Too much food or too wet. Remove scraps, add a thin dry paper layer, and ventilate briefly.
- Mold on surface? Small white fuzz is common; skim it off, reduce feeding, and keep layers thin.
- Worms on the walls? Often means stress (light/heat) or too-wet bedding. Darken, ventilate, and check moisture.
- No movement visible? Check at dusk or early morning — worms are shy. Add a leaf snack and revisit later.
These tiny tweaks keep the My Living World Worm World healthy and engaging.
Extend the Learning: Mini-Compost and Garden Link
Set a small countertop scrap pot for veggie offcuts and tea leaves. Once a week, take kids outside to return habitat worms and scraps to a garden bed or planter. Explain the loop: kitchen → worms → soil → plants → kitchen. If you have no garden, gift the worms and enriched soil to a friend’s planter or a school garden. The lesson lands: nature recycles, and so do we.
Your 30-Minute “Worm World” Lesson Plan (Home or Class)
- Hook (5 min): Show a photo of a garden and ask, “What’s underground?”
- Setup (10 min): Layer the habitat and add worms.
- Quick Observe (5 min): Quiet minute, draw what you see (tunnels, stripes).
- Question (5 min): “What will change by tomorrow?” Write predictions.
- Wrap (5 min): Cover the habitat, choose a feeding plan, set a viewing time for tomorrow.
Repeat daily for one week with 5-minute check-ins. Small, consistent beats > one giant “science day.”
Care & Clean: Keep It Looking (and Smelling) Fresh
Wipe the outside with a soft cloth; keep the top rim clean so the lid seals without trapping food. Rotate the habitat a quarter turn each day so tunnels are visible on all sides. After you release the worms, empty the remaining substrate into a planter or garden bed, rinse the habitat with lukewarm water (no soap), and let it air-dry before storing.
Conclusion
Kids remember the projects that made them feel like scientists — the ones where they asked a question, tried something, and saw the world change. The My Living World Worm World delivers that feeling in a compact, friendly format: easy setup, daily surprises, and a gentle introduction to composting and care. Set your mini eco-lab on a shelf, layer the soil, and start observing. In a week, you’ll have sketches, graphs, new vocabulary — and a child who now sees the ground beneath their feet as alive, active, and worth protecting.
Shop My Living World Worm World
FAQ
- Where do we get the worms?
Collect a few from a damp garden bed after rain, or purchase earthworms from a reputable supplier. Avoid earthworms from salted paths or contaminated areas. - How long can worms live in the habitat?
Use it as a short-term observation home — typically 1–2 weeks. Then return worms to a cool, damp outdoor spot. - What should we feed them (and how often)?
Small amounts of soft vegetable scraps and chopped leaves every 2–3 days. Remove uneaten food before adding more. - Is the habitat suitable for classrooms?
Yes. The clear walls, layering approach, and daily check-ins make it a perfect STEM center for small groups. - Will it smell?
A healthy habitat smells like damp soil. Odors mean too much food or water — reduce feeding and add a dry paper layer. - Do worms bite or sting?
No. Earthworms are harmless. Teach gentle handling if you ever need to move them. - What if we’re in a flat with no garden?
Ask a neighbor, school, or community garden to adopt the worms and substrate after your project. Plant pots on balconies work if kept cool and damp. - How is this different from a compost bin?
The My Living World Worm World is for observation and learning; a compost bin is for ongoing waste processing. You can link them by returning worms and enriched soil to a compost or planter after the study.