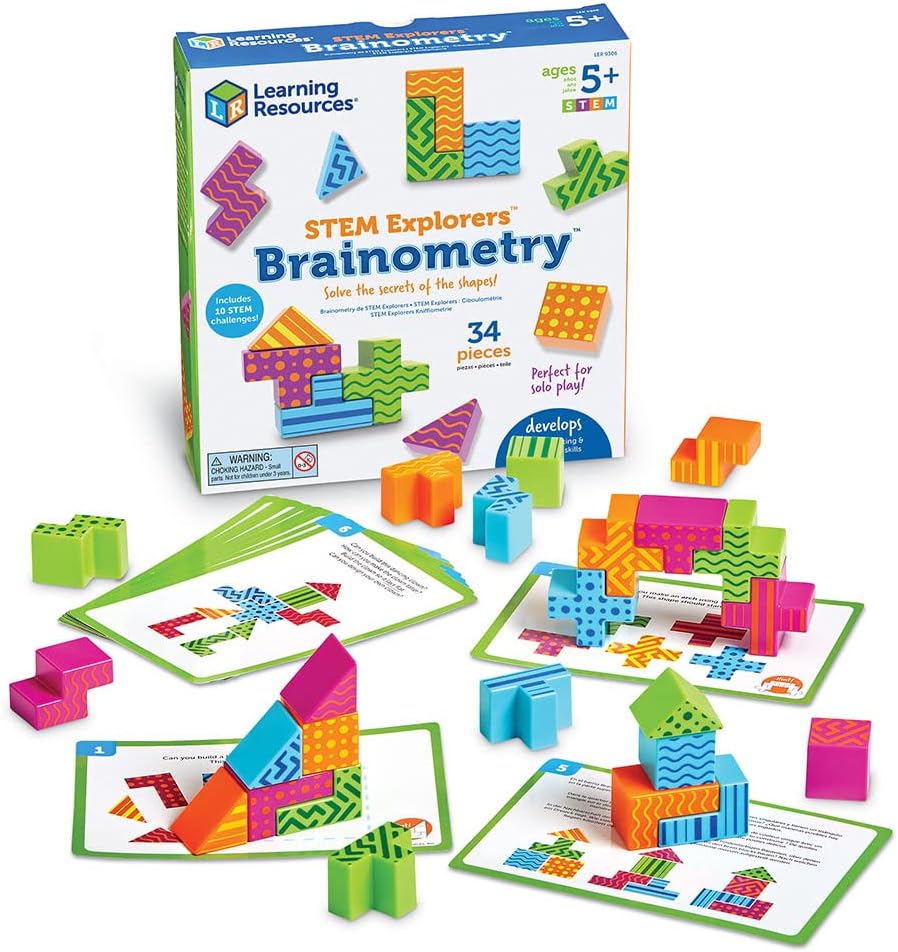

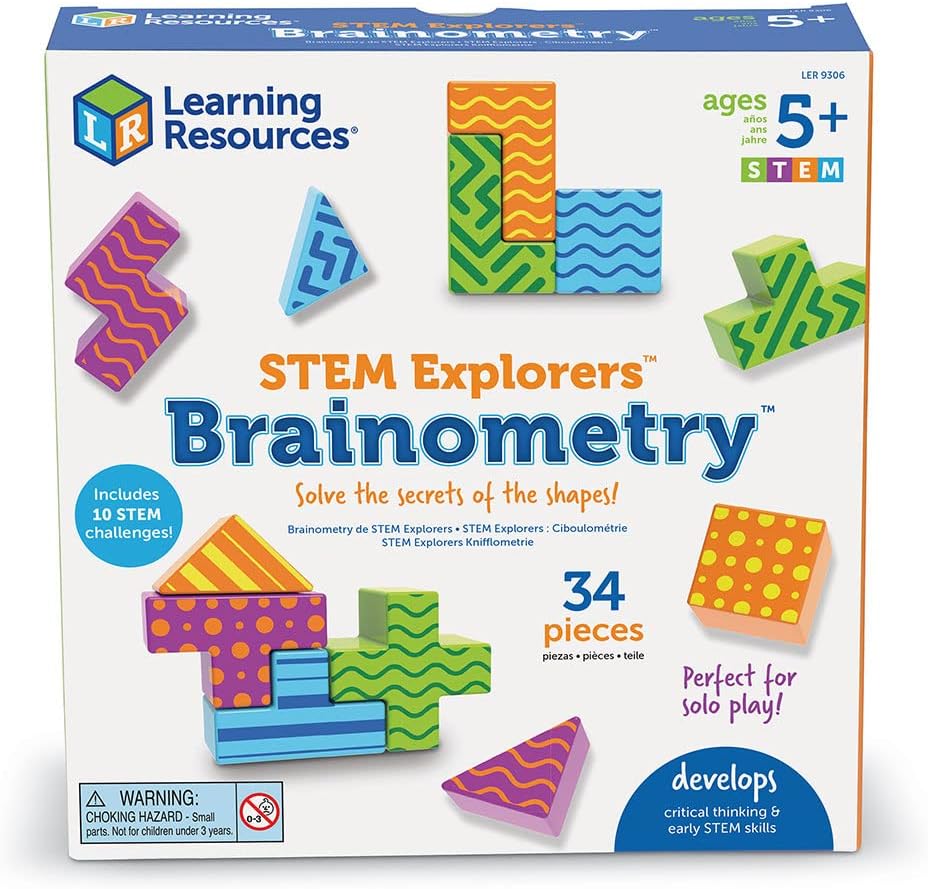
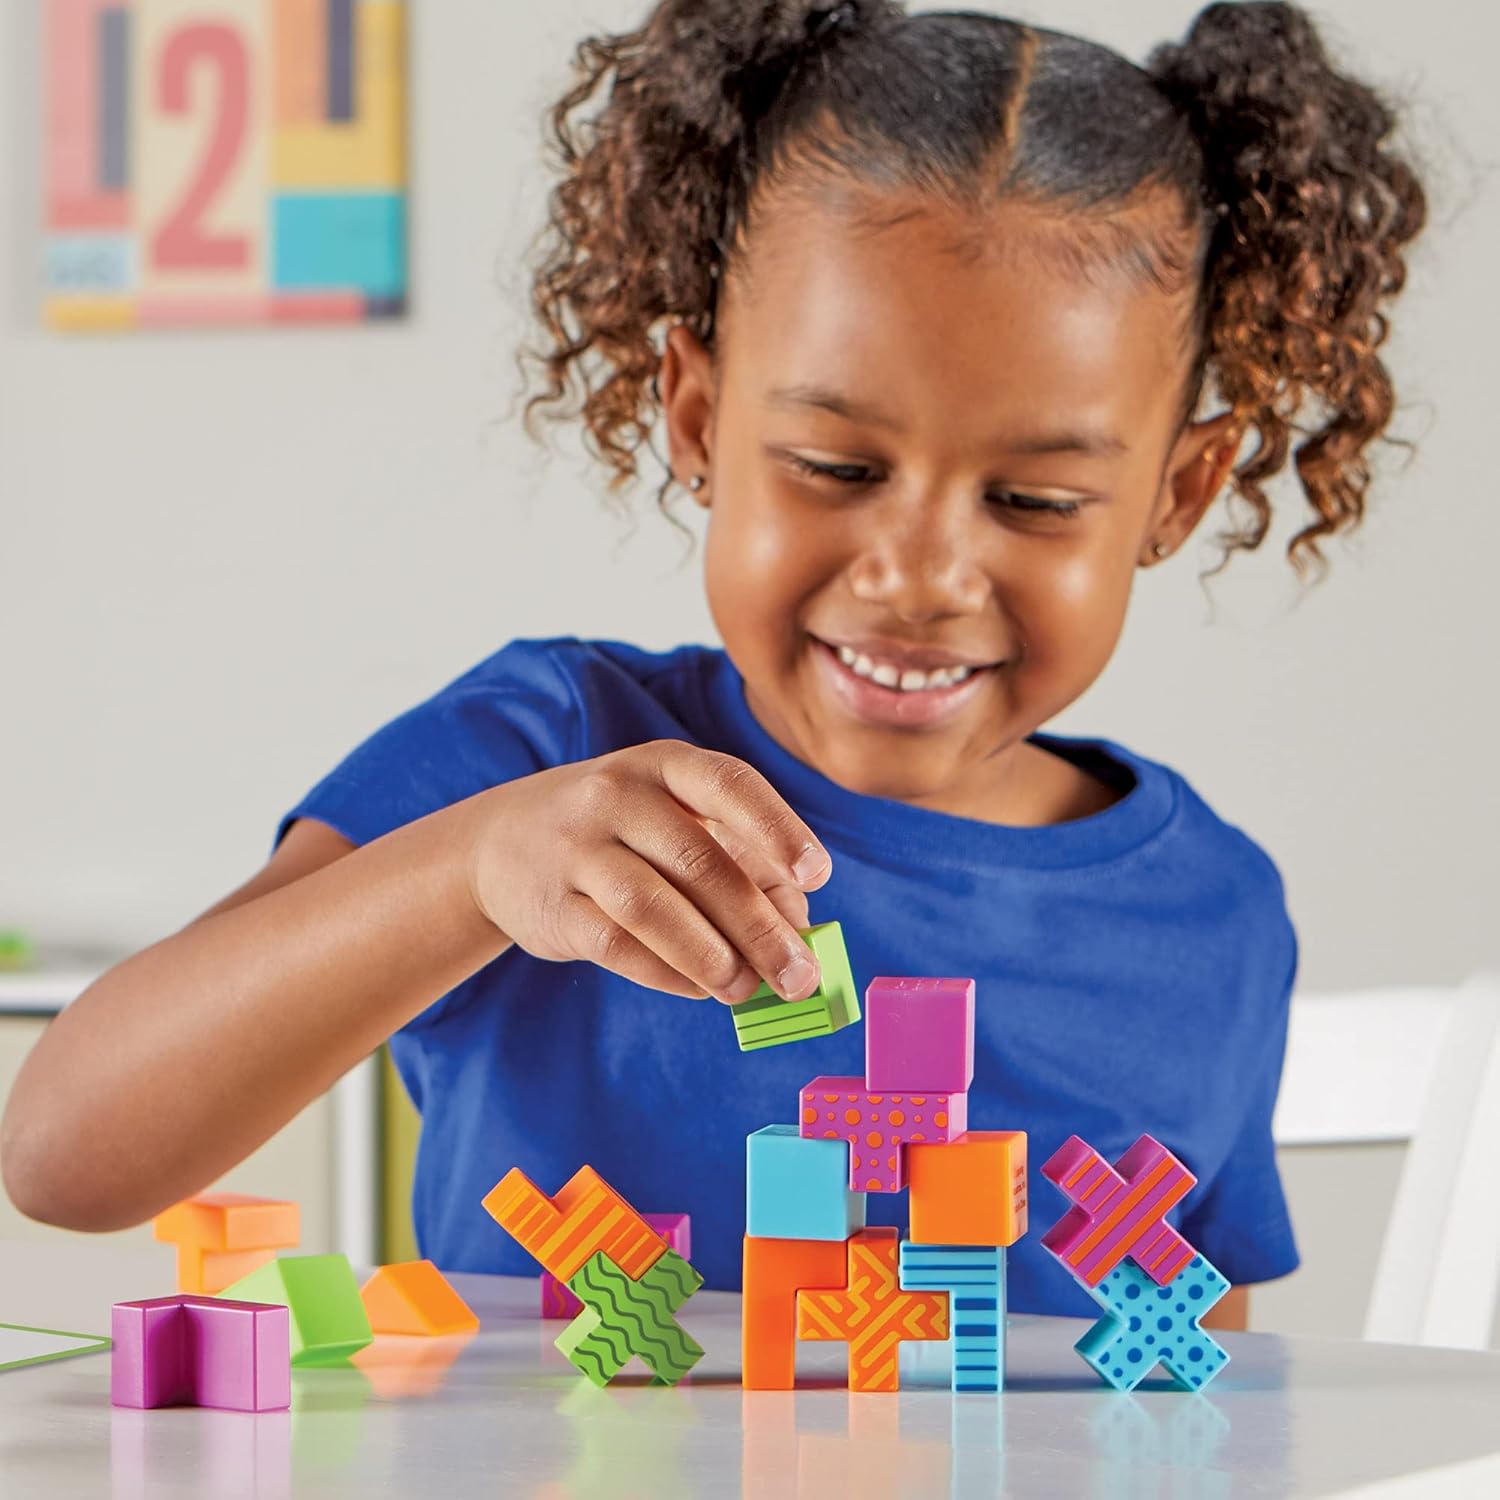
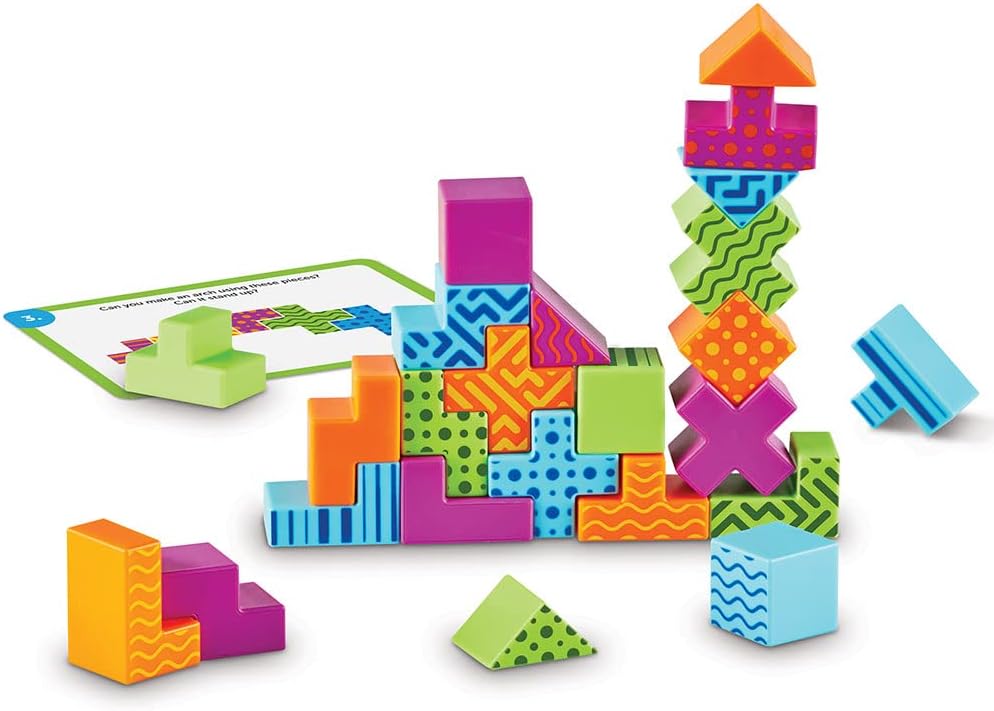
Some resources feel “teacherly” from the moment you open the box; others feel like toys children can’t resist. The best classroom tools are both. Learning Resources STEM Explorers Brainometry lives in that sweet spot, inviting curious hands to build, rotate, flip, and arrange colourful shapes while the brain quietly practices patterning, spatial reasoning, and flexible thinking. What looks like a simple puzzle session quickly becomes a workout for attention, perseverance, and the language of maths—without a worksheet in sight.
In this article, we’ll map a complete routine around STEM Explorers Brainometry so it earns its place on your shelf all year. In this article, you’ll find an easy first-week rollout, a centre layout that keeps children productively busy, ways to stretch or scaffold challenges for mixed abilities, and simple observation habits that tell you exactly what’s improving. We’ll also share home-school bridges so families can continue the thinking at the kitchen table, plus storage and hygiene tips that keep everything tidy and ready for the next group.
Shop Learning Resources STEM Explorers Brainometry
Your First Week with the Set
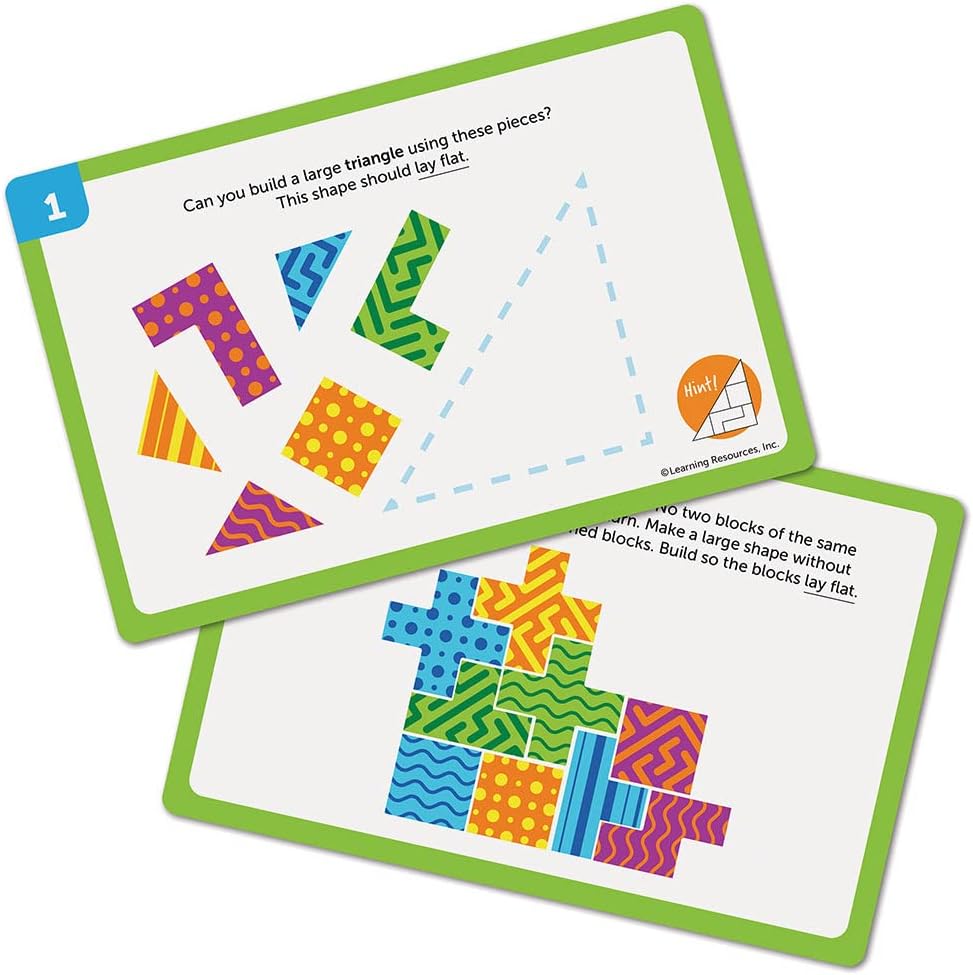
Begin with a single, short whole-class demo. Tip the pieces onto a tray so everyone sees the colour and variety, then model three core moves you’ll return to all term: rotate, reflect, and combine. Name them plainly and slowly—“I’m rotating this triangle,” “I’m reflecting this shape like a mirror,” “I’m combining two shapes to make a bigger one.” Keep the tone playful and the pace unhurried. Children copy your language before they master the movement, and that vocabulary sticks when they meet the same ideas later in geometry.
Next, put STEM Explorers Brainometry straight into a calm centre rather than a whole-class free-for-all. Two or four children per tray is ideal. Offer one open challenge for everyone—“Make a picture with exactly five pieces” or “Fill this outline without gaps”—and one personal challenge card per child. Explain the reset routine at the end: pieces flat, outlines clear, card back to the top of the pile. Consistency here is what keeps your future sessions smooth.
What Children Practise (Even When It Looks Like “Just Puzzles”)
The obvious skill is shape recognition, but the subtle magic sits elsewhere. Children are rehearsing planning (choosing a starting piece), inhibition (not snatching every piece that “might” fit), and error detection (noticing a tiny gap and backtracking without drama). They’re also building the language that unlocks later maths: half-turns and quarter-turns; edges and corners; symmetry and balance. When a child explains, “I flipped this piece and now it matches,” you’re hearing future success with coordinate grids and transformation geometry.
There’s social practice too. In pairs, one child can be the “describer” and the other the “builder,” taking turns so both roles feel fair. That simple protocol improves listening, turn-taking, and the courage to try an idea out loud. Because the puzzles have multiple solutions, collaboration feels authentic rather than competitive: there isn’t a single “right” way to win, only better and clearer ways to communicate what to try next.
Shop Learning Resources STEM Explorers Brainometry
A Centre Layout That Works Daily
Keep the footprint small and the expectations clear. A shallow tray holds the shapes; a stand or box holds the challenge cards; a plain mat establishes the building zone. On busy days, put a sand timer nearby and call it a “focus timer” rather than a “race”—the language matters. Two trays side by side are better than one giant spread; children police their own space more thoughtfully when the materials look finite and complete.
Rotate the nature of the challenge rather than the whole set. One week highlight silhouettes that must be filled with no overhang. Another week try mirrored builds: an adult places a small two-piece arrangement and children must reflect it across an imaginary line. Later, swap to creative prompts—“build a fish,” “build a rocket,” “build a home for a tiny friend”—so imaginative play recruits the same geometric muscles. The consistent format breeds independence; the shifting task keeps curiosity high.
Differentiation That’s Invisible (and Effective)
With mixed-ability groups, everyone can look busy while only a few are stretching. Make the stretch quiet and specific. Offer constraints such as “use only six pieces,” “must include two triangles,” or “no gaps allowed.” For children who need confidence, relax the constraints: “fill as much as you can,” “use any pieces you like,” “make it interesting first, neat second.” You can also scaffold by pre-placing one or two anchor pieces and inviting children to complete the shape around them. Removing an anchor a week later is a satisfying reveal of progress.
Language is another lever. Encourage older or more confident learners to narrate with precise terms—“I rotated this piece ninety degrees clockwise”—while younger learners can use gesture and everyday words—“I turned it this way.” Both are valid, and both move the thinking forward. You’re not grading the vocabulary; you’re growing it.
Linking to Maths, Literacy, and Art
Maths links are easy: sorting by properties, counting pieces, comparing solutions, and reasoning about “why this worked.” But don’t miss the literacy moments. Ask children to write a two-step instruction for a partner or to add labels to a photo of their final build. That tiny sentence—“Rotate triangle; add square on the right”—is procedural writing in its most approachable form. In art, Brainometry shines as a collage prompt. Photograph a child’s arrangement, then have them recreate the composition with paper shapes and a glue stick. Suddenly you’re discussing balance, negative space, and rhythm with five-year-olds who think they’re making robots.
Shop Learning Resources STEM Explorers Brainometry
Simple Assessment That Doesn’t Interrupt Play
Observation beats testing here. Keep a half-page roster on a clipboard. During centre time, spend sixty seconds per child and note one thing: grip and control, persistence after a mistake, use of positional language, willingness to rotate or reflect instead of forcing a mismatch. Circling back weekly gives you a visible trail of growth you can share with families and colleagues without ever pulling children out of the flow.
You can also snapshot learning by photographing the start, middle, and end of a build. A three-frame story shows strategy: whether the child dumped all pieces onto the mat, whether they started from an edge, whether they rotated pieces or swapped immediately. Those photos double as display material—children love seeing their “thinking journeys” on the wall.
Home–School Bridges That Stick
Families want to help but don’t always know how. Send home a one-line challenge and a quick note about language: “Build an animal with five pieces. Ask your child to tell you the moves—turn, flip, slide.” Suggest simple substitutions for households without the set: cut paper shapes, cereal box card, or even drawn shapes to trace with a finger. The point isn’t perfect replication; it’s continuing the habit of trying, adjusting, and explaining. A fridge photo of a child’s favourite build keeps the momentum going between school days.
Storage, Care, and Classroom Management
Tidy kits invite use; messy ones lose their magic. Use a lidded, shallow box with a photo label on the front so even non-readers can match contents to container. At clean-up, a simple chant—“flat, match, lid”—reminds children to lay pieces flat, match the picture, and close the box. If you teach multiple groups, colour-code boxes by table and keep one spare for lost-and-found pieces. For hygiene, a quick end-of-day wipe of the box and a weekly soak or sanitise for the pieces is enough; dry them fully on a towel before returning to storage so the set stays fresh.
When arguments flare—because they will—give the language a home. A small sign reads: “Ask, Offer, Swap.” Children first ask for a piece; partners can offer an alternative or swap from the communal tray. Putting the protocol on the table removes adult refereeing and teaches negotiation in the gentlest, most practical way.
Troubleshooting: When Things Wobble
If a child insists on forcing a wrong piece, pause the task and isolate the move: “Let’s try just rotating for ten seconds.” If a group moves shapes around without intention, re-introduce a constraint: “Only three moves left—make them count.” If attention drifts, shrink the canvas by drawing a boundary box on the mat; fewer options often means better thinking. And if frustration spikes, celebrate the almost-there: “This gap is tiny—that means your idea is strong. Which piece could make the tiniest change?”
Why STEM Explorers Brainometry Earns Its Keep
You can teach shape names with flashcards and you can train perseverance with pep talks, but Learning Resources STEM Explorers Brainometry fuses both in a way children feel in their hands. It’s quiet enough for mornings, bright enough for rainy afternoons, and adaptable enough to sit beside literacy, art, science, and free play without ever feeling like a bolt-on. Most importantly, it builds the kind of confidence that survives beyond the mat: the sense that problems yield to trying, adjusting, and trying again.
Conclusion
When geometry is a puzzle and language is the key, children sprint towards understanding. Learning Resources STEM Explorers Brainometry turns rotations, reflections, and combinations into a game they want to revisit, which is exactly how deep learning looks at five, seven, or ten years old. Launch with a simple routine, keep the centre footprint small, vary the challenge not the tool, and watch the quiet gains compound—more precise hands, steadier attention, richer words, calmer planning. That’s the kind of progress you can see, hear, and celebrate, one colourful arrangement at a time.
Shop Learning Resources STEM Explorers Brainometry
FAQ
- What ages is Brainometry best for?
Early primary through lower key stage—roughly 4–9 works well—though older children enjoy speed challenges and mirrored builds. - How many children can use one set at once?
Two to four per tray keeps the work focused and the negotiations friendly; larger groups become crowd control. - Can I use it for assessment?
Yes—observe language, strategy changes, and persistence. Quick notes over weeks show real growth without formal testing. - How do I support children who avoid mistakes?
Frame every near-miss as data: “This gap tells us something—what could we try next?” Celebrate the revision, not just the result. - Does it fit into maths lessons or only free choice?
Both. Use it as a warm-up for transformations or as a centre during rotations; the language transfers neatly to your main task. - Any ideas for fast finishers?
Add constraints: exact piece counts, symmetry rules, or timed mirrored builds. Photograph solutions and challenge peers to recreate them. - How do I involve families?
Send a one-line prompt and invite a quick kitchen-table build with paper shapes. Ask for a photo back—children love the recognition. - What if pieces go missing?
Keep a labelled “spares” envelope and a weekly piece-count. A photo label on the box helps children self-correct at tidy time. - Can I link it to art or literacy?
Absolutely—recreate builds as paper collages or write two-step instructions for a partner. It’s procedural writing in miniature. - How do I keep the centre fresh all term?
Change the challenge, not the kit: silhouettes one week, reflections the next, imaginative prompts after that. Familiar tools, new goals.